
How to Create a Personal Web Page for College Success
Nearly 60 percent of American colleges now review digital portfolios alongside traditional applications. If you are a high school senior aiming to stand out, building a personal web page can make your academic achievements shine beyond your transcripts. This step-by-step guide breaks down the process so you can create an impressive online profile that grabs the attention of admissions officers across the United States.
Quick Summary
| Key Insight | Explanation |
|---|---|
| 1. Collect essential materials | Assemble academic documents, personal achievements, and a compelling narrative to tell your story. |
| 2. Choose the right platform | Select an accessible web platform that supports your personal style and academic achievements. |
| 3. Design for clarity and appeal | Create a professional layout with consistent colors and sections for easy navigation. |
| 4. Highlight achievements effectively | Present achievements with context, detailing your role and the impact of your work. |
| 5. Review before publishing | Thoroughly check content clarity, design, and functionality to ensure a polished final product. |
Step 1: Gather essential content and materials
Creating a powerful personal web page starts with collecting the right materials that showcase your academic journey and unique personality. You want a collection of content that tells your story effectively and professionally. Effective digital content comes in many formats including text, images, videos, and forms that communicate your achievements clearly.
Begin by assembling your key academic documents and personal achievements. Pull together your high school transcript, standardized test scores, awards certificates, extracurricular activity records, and any notable project documentation. Take digital photos or scan these documents at high resolution to ensure crisp online quality. For your personal narrative sections, draft compelling written content that highlights your academic goals, personal interests, and future aspirations. Think about including sections like academic achievements, leadership experiences, volunteer work, and personal interests that paint a comprehensive picture of who you are.
As you compile materials, focus on creating a balanced representation of your academic and personal strengths. Source integration strategies suggest presenting information with proper context and explaining how each element supports your overall narrative. This means not just listing achievements but providing brief explanations that give depth and meaning to your accomplishments.
Pro tip: Create a dedicated digital folder on your computer to organize all your web page materials before uploading, which will help you stay systematic and prevent last minute scrambling.
Step 2: Select and set up your web platform
Choosing the right web platform is crucial for creating a professional and functional personal web page that showcases your academic achievements. Your goal is to find a platform that balances ease of use with powerful features that help you present your story effectively. Educational web platforms offer a range of options designed specifically for academic purposes, with important considerations like accessibility and user authentication.
Start by exploring student friendly platforms such as Google Sites, WordPress, Wix, or Squarespace. Each platform offers unique advantages for creating a personal academic website. Google Sites provides simplicity and free integration with other Google tools. WordPress offers more customization for those with some technical skills. Consider your comfort level with technology and the specific features you need. Look for platforms that allow easy document uploads, clean design templates, and options to highlight your academic achievements. Pay special attention to platforms that support proper citation and resource integration, which can add credibility to your academic web page.
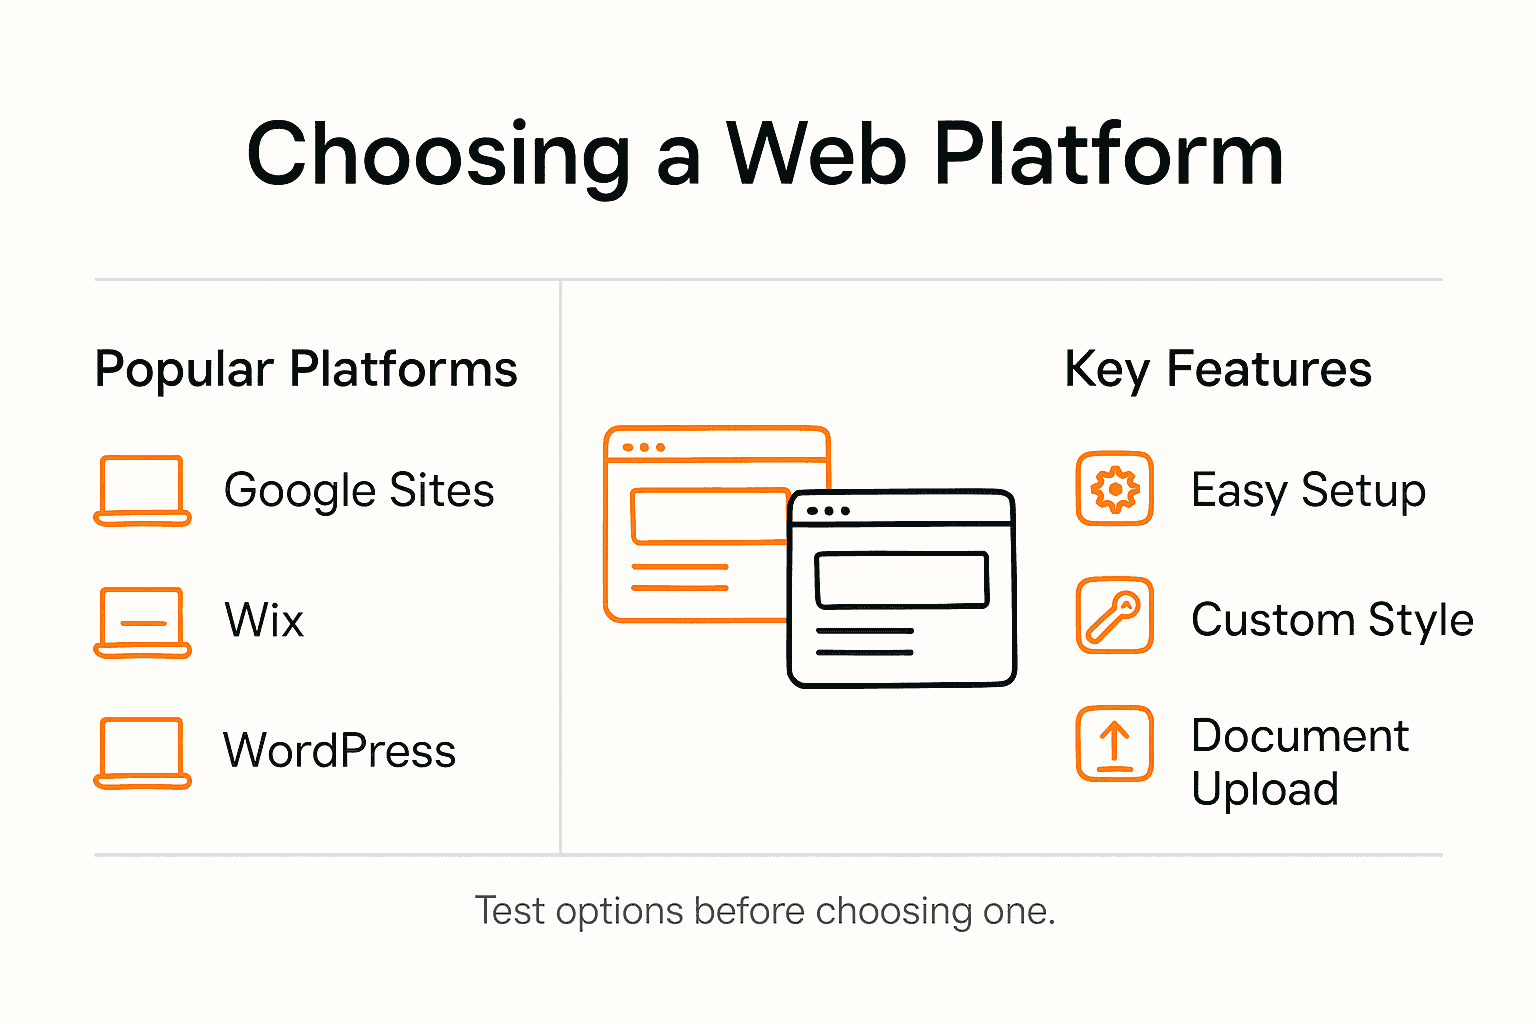
Here’s a quick overview comparing popular platforms for creating a personal academic web page:
| Platform | Ease of Use | Customization Level | Document Integration |
|---|---|---|---|
| Google Sites | Very easy, intuitive | Basic themes, limited | Seamless with Google Docs |
| WordPress | Moderate, some tech skill | Highly customizable | Plugins available |
| Wix | Drag-and-drop simple | Good creative control | Uploads supported |
| Squarespace | User-friendly | Stylish templates | Direct attachments |
Once you select a platform, take time to explore its setup process. Create a free account, choose a clean and professional template that reflects your personal style, and start customizing your pages. Most platforms offer drag and drop interfaces that make designing your web page intuitive and straightforward. Remember to keep your design clean, professional, and focused on presenting your academic journey in the most compelling way possible.
Pro tip: Before committing to a platform, create test pages on 2 or 3 different sites to compare their features and see which feels most comfortable and looks most professional.
Step 3: Design your web page layout and style
Designing a compelling personal web page is about creating a visual story that highlights your academic achievements and personal brand. Your layout and style should be clean, professional, and easy to navigate while reflecting your unique personality. Accessible web design is critical not just for aesthetics but for ensuring your page can be viewed and understood by everyone, including people with different abilities.

Start by selecting a color palette that is professional yet personal. Choose 2 or 3 complementary colors that work well together and represent your style. Consider using your school colors or shades that reflect your academic interests. Pay attention to readability by ensuring strong color contrast and selecting fonts that are easy to read. Academic content presentation emphasizes consistency and clarity, so aim for a uniform look across all sections of your web page. This means using the same font styles for headings, consistent paragraph spacing, and a logical content flow that guides visitors through your academic journey.
Organize your content into clear sections like About Me, Academic Achievements, Projects, and Contact Information. Use white space strategically to prevent your page from feeling cluttered. Each section should have a clear purpose and be visually distinct yet part of a cohesive whole. Consider using subtle design elements like light background colors or minimalist icons to break up text and add visual interest without overwhelming the viewer.
Pro tip: Ask a friend or teacher to review your design and provide honest feedback about readability and visual appeal before finalizing your web page.
Step 4: Add your academic achievements and projects
Building a powerful personal web page means showcasing your academic journey in a way that tells a compelling story about who you are and what you’ve accomplished. Effective academic presentation requires strategic thinking about how you highlight your achievements and projects to capture the attention of potential colleges or scholarship committees.
Organize your academic achievements chronologically starting with the most recent accomplishments. Include detailed descriptions that go beyond simple lists. For each achievement, explain the context, your specific role, and the impact of your work. Use strong action verbs to describe your contributions. For academic projects, provide concise summaries that demonstrate your skills, creativity, and intellectual curiosity. Include relevant details like project goals, your specific contributions, technologies or methods used, and key outcomes. Research documentation guidelines suggest being clear, precise, and transparent about your academic work to maintain credibility.
Consider creating subsections like Academic Awards, Research Projects, Leadership Roles, and Extracurricular Achievements. Use visual elements like icons or subtle graphics to break up text and make your page more engaging. Add links to project descriptions, research papers, or digital portfolios when possible. Remember that each section should tell a part of your unique academic story and showcase your potential.
Pro tip: Have a teacher or mentor review your achievements section to help you frame your accomplishments in the most compelling and authentic way.
Step 5: Review and test your personal web page
Before publishing your personal web page, conducting a thorough review is critical to ensure your digital presentation looks professional and functions perfectly. Web accessibility testing helps you verify that your page works well for everyone, including users with different abilities and those using various devices and browsers.
Start by reviewing your content for clarity, grammar, and spelling. Check that each section flows logically and tells a compelling story about your academic journey. Test your web page on multiple devices like smartphones, tablets, and computers to ensure responsive design. Click through every link, verify that images load correctly, and confirm that all sections display properly. Content review strategies recommend systematic checking to catch errors and improve overall quality. Pay special attention to details like font consistency, color schemes, and how your information is presented visually.
Enlist help from friends, teachers, or family members to get fresh perspectives. Ask them to navigate your web page and provide honest feedback about readability, design, and whether the page effectively communicates your academic achievements. Be open to constructive criticism and willing to make adjustments that enhance your web page’s impact.
Pro tip: Create a checklist of key review points and systematically work through each one to ensure nothing important gets overlooked during your final web page preparation.
Use this checklist to review your personal web page before publishing:
| Review Item | Description |
|---|---|
| Content clarity | Is information easy to understand? |
| Responsive design | Does it work on phones, tablets, computers? |
| Link functionality | Do all hyperlinks lead to the right pages? |
| Visual consistency | Are fonts and colors uniform? |
| Accessibility | Is content readable for everyone? |
Step 6: Publish and share your completed site
Your personal web page is more than just a digital document its a powerful tool for showcasing your academic journey and potential to colleges, scholarship committees, and future opportunities. Academic content publication involves strategically making your work accessible and professional to maximize its impact and reach.
Choose a hosting platform that offers reliable and secure publishing options. Most web platforms like Google Sites, WordPress, or Wix provide simple publishing tools with privacy settings that let you control who can view your page. Consider creating a custom URL that includes your name to make it easy for colleges and potential opportunities to find you. Structured academic sharing emphasizes the importance of presenting your information through trusted and credible channels. Select a privacy setting that allows you to share your web page link with specific audiences like teachers, college admissions offices, or scholarship reviewers.
Prepare a professional email or document with your web page link that you can send to recommenders, college admissions offices, or potential scholarship committees. Include a brief introduction explaining the purpose of your personal web page and highlight key sections they might find interesting. Be proactive about sharing your digital portfolio and treat it as a living document that you can update with new achievements and experiences.
Pro tip: Create a short trackable link using services like Bitly to monitor how many times your web page has been viewed and gain insights into who is interested in your academic profile.
Elevate Your Academic Journey with a Personalized Approach
Building a personal web page is a crucial step for college success, but organizing your academic achievements alongside balancing study aesthetics, productivity, and time management can feel overwhelming. The article highlights key challenges like selecting the right platform, designing clean layouts, and making your content accessible and compelling. These are common pain points for students striving to create a digital presence that truly stands out.
You do not have to face these challenges alone. At Learning With Angie, we offer practical strategies to help you master essential skills such as productivity, time management, and creating a healthy balanced lifestyle. These skills perfectly complement building an effective personal web page by ensuring you stay organized and confident throughout the process. Explore actionable tips to refine your academic storytelling and daily routine by visiting our main site and discovering resources tailored for students like you.
Ready to take control of your college success story today? Start by visiting Learning With Angie to uncover how to integrate your personal web page journey with powerful study habits that will elevate your academic profile and beyond. Don’t wait to empower yourself with the full set of skills you need to shine now.
Frequently Asked Questions
How do I start gathering content for my personal web page?
To start gathering content, collect your academic documents, achievements, and personal narratives. Organize key materials such as transcripts, test scores, awards, and summaries of your extracurricular activities.
Which web platform should I choose for my personal web page?
Choose a web platform based on your technical comfort and the features needed for your page. Consider options like Google Sites for simplicity or WordPress for greater customization, depending on your skills.
What sections should I include on my personal web page?
Include clear sections such as About Me, Academic Achievements, Projects, and Contact Information. Organizing content into distinct sections helps create a cohesive narrative about your academic journey and personal interests.
How can I make my web page accessible to all users?
Ensure your web page is accessible by using readable fonts, strong color contrasts, and structured layouts. Implement best practices for web design to enhance usability for people with varying abilities.
What steps should I take to review my personal web page before publishing?
Review your web page by checking for clarity in content, responsiveness across devices, and functionality of links. Take detailed notes and consider using a checklist to ensure all aspects have been thoroughly examined before publishing.
How can I effectively share my completed personal web page?
Share your completed web page by creating a professional email with a link to your site. Highlight key sections that showcase your achievements, and consider sending it to recommenders and scholarship committees for maximum exposure.