How to Integrate Digital Planners with a Flexible Homeschool Schedule

Homeschooling is often described as "organized chaos," and if you’ve been doing it for more than a week, you know exactly why. One day you’re ahead of schedule, deep-diving into a fascinating history project; the next, a beautiful sunny day or an unexpected field trip throws your perfectly curated paper planner into the trash.
Traditional planners are rigid. They don’t like it when life happens. But your homeschool schedule needs to breathe. This is where digital planners become your greatest ally. By moving your organization to a digital space, you gain the ability to shift, slide, and reschedule without the mess of white-out or scribbled-over pages.
Ready to transform your "flexible" schedule from "unreliable" to "unstoppable"? Here is how you can integrate digital planners into your homeschool flow effectively.
Why Traditional Planning Often Falls Short for Homeschoolers
Many parents start their journey with a beautiful, thick paper planner. It feels official. But for a flexible homeschool environment, paper can actually become a source of stress.
- Fixed Dates: If you miss a Monday lesson on a paper planner, you have to manually rewrite everything for the rest of the week.
- Lack of Accessibility: If you leave the house for a co-op or a library trip, you might forget the planner on the kitchen table.
- Zero Collaboration: It’s hard for your student to see what they need to do without constantly asking you, "What’s next?"
Digital planners solve these issues by being dynamic, accessible, and collaborative. They allow you to maintain a high-level view of your goals while staying agile on a daily basis.
The Power of a "Living" Schedule
A flexible homeschool schedule isn't about having no plan; it’s about having a plan that can move. When you integrate a digital system, your schedule becomes a "living" document. You aren't just recording what you hope will happen; you are managing what is happening in real-time.

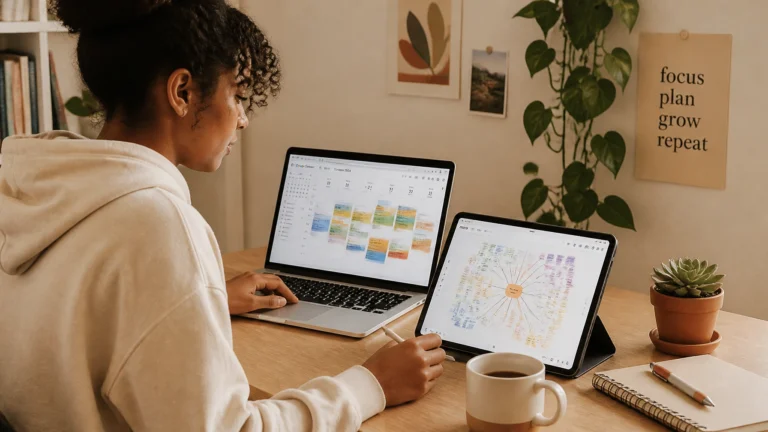
Step 1: Choose Your Digital Foundation
The first step is deciding where your "command center" will live. You need a tool that is robust enough to hold curriculum links but simple enough for your student to navigate.
- Notion: This is our top recommendation for high schoolers and middle schoolers. It’s a "second brain" where you can store everything from lesson plans to research notes. You can even use specialized templates like our High School Four-Year Plan Template to see the big picture.
- Syllabird or Homeschool Planet: These are specialized homeschool planners that feature "automatic rescheduling," which is a lifesaver when life gets busy.
- Google Calendar: Best for high-level time blocking and ensuring homeschool doesn't clash with doctor appointments or extracurriculars.
Pro Tip: If you're helping your student prepare for the next step, our College Search Template + Timeline is a great example of how digital organization can handle complex, multi-year goals.
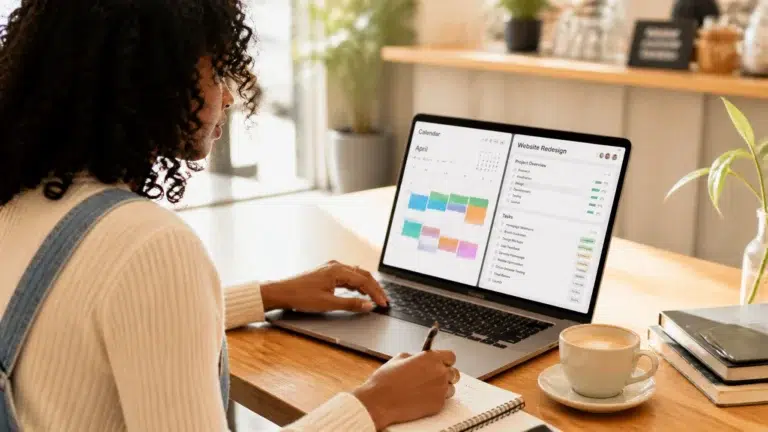
Step 2: Build with Rescheduling in Mind
The biggest mistake parents make is filling a digital planner with hard deadlines. Instead, use sequential tasks.
In a digital planner like Notion or Trello, you can list assignments in order without attaching a specific date to every single one. If Monday becomes a "nature walk day," Tuesday simply starts where Monday was supposed to.
- Use "Vacation Mode": Many digital planners allow you to toggle a break. This automatically shifts all future assignments forward so you don't have to move them one by one.
- Batch Your Input: Spend one hour on Sunday night inputting the sequence of work for the next two weeks. Don't worry about the specific hour-by-hour time slots yet.
- Keep Resources Linked: The beauty of digital is that you can embed links to YouTube videos, PDFs, or websites directly into the assignment. No more hunting for that one specific worksheet.
Step 3: Empower Student Independence
One of the main goals of homeschooling is to raise independent learners. A digital planner is the perfect tool to hand over the reins of responsibility.

By giving your student their own login or view, you teach them essential life skills:
- Prioritization: They can see their whole list and decide if they want to tackle the hard math first or the creative writing.
- Self-Correction: If they see they are falling behind on their APUSH study plan, they can adjust their own effort without you having to nag.
- Accountability: They mark tasks as "Done," giving them a hit of dopamine and giving you a quick way to check progress without a long interrogation.
Step 4: Sync with Your Real Life
Your homeschool schedule does not exist in a vacuum. It lives alongside grocery shopping, chores, and family commitments.
- The Family Calendar Sync: Ensure your digital planner syncs with your primary family calendar (like Google or Apple Calendar). This ensures you aren't planning a heavy testing day on the same day as a three-hour dental appointment.
- Mobile Access: Make sure the planner has a good mobile app. Being able to check the "To-Do" list while you're waiting in the car at gymnastics is an essential productivity hack for busy parents.
- Use a Life Reset Checklist: Every few weeks, things might feel a bit cluttered. We recommend using a Life Reset Checklist to clear out the digital "cobwebs" and realign your goals.
Step 5: Incorporate Daily Healthy Habits
A schedule isn't just about academics; it's about the person your student is becoming. A digital planner allows you to integrate personal growth seamlessly into the school day.

You can add "tasks" that aren't school-related but are just as important:
- Mindfulness & Reflection: Use a Printable Daily Reflection Journal Template link inside the planner to encourage 5 minutes of thought at the end of the day.
- Physical Health: Include a recurring task for a Daily Healthy Habits Checklist to ensure they are staying hydrated and moving their bodies between study sessions.
- Creative Breaks: Schedule 15 minutes for a hobby or a "brain break." Digital planners are great for reminding students to step away from the screen!
Making the Transition: Tips for Parents
If you are moving from paper to digital, take it slow. You don't have to migrate your entire curriculum in one afternoon.
- Start with one subject. Move your most resource-heavy subject (like Science or History) to the digital planner first.
- Model the behavior. Let your student see you using your own digital planner or Notion dashboard to manage the household or your work.
- Hold a "Monday Morning Meeting." Spend 10 minutes looking at the digital planner together to set the vibe for the week.
- Be patient with the learning curve. It takes a few weeks to get used to a new interface, but the payoff in saved time and reduced stress is worth it.
Join The Community
Integrating digital tools into your homeschool doesn't have to be overwhelming. At Learning With Angie, we are passionate about providing the resources and honest advice you need to help your student thrive: academically and personally.
Ready to streamline your workflow and reclaim your time? Join our community and sign up for our biweekly newsletter to get actionable tips, free resources, and the latest study hacks delivered straight to your inbox. Let's make this your most organized (and flexible) year yet!


