How to Start a Bullet Journal for Beginners in 5 Easy Steps
Are you looking to start a bullet journal but aren’t sure where to begin?
Maybe you’ve seen tons of reviews on different notebooks and supplies and don’t know what to choose. Or you’ve seen countless spreads but don’t know where to get started.
If you’re overwhelmed about starting a bullet journal, you’ve come to the right place. In this article, I explain how to start a bullet journal for beginners in just five easy steps!
By the time you finish this article, you’ll know exactly how to set up your bullet journal and be on your way to becoming more organized, productive, and successful.
Let’s get started!
This post may contain affiliate links, which means that when you make a purchase through a link, I make a small commission at no extra cost to you.
- Bullet Journal Basics
- How to Start a Bullet Journal
- Quick Review of How to Start a Bullet Journal for Beginners
Bullet Journal Basics
What is a bullet journal?
If you’re completely new and don’t know what a bullet journal (aka bujo) is, it’s a system created by Ryder Carroll to help people become more mindful and productive. It’s a planner, diary, and creative outlet all in one.
Instead of having multiple notebooks for work, house maintenance, self-care, budgeting, and other needs, you can keep everything in one place.
In recent years, bullet journals have practically evolved into artistic masterpieces. However, the original framework of the bullet journal is actually quite simple.
While you may choose to doodle or make elaborate spreads in your bullet journal, it is not necessary. Your spreads can be as fancy or as minimalist as you like.
But no matter which route you decide to take, this article will help you set up your bullet journal for success.
Why bullet journal? Is bullet journaling worth it?
There are many benefits of bullet journaling. I’ve bullet journaled for four years, and here are several bullet journaling benefits I’ve experienced:
- Flexible planning: I can create planning spreads for all my needs, from school to trip planning to personal care.
- Creative outlet: I’ve never considered myself to be much of an artist, but bullet journaling has helped me explore my creative side more. I’ve learned skills like scrapbooking, hand lettering, and doodling.
- Increased mindfulness: By having everything in one place, I’m able to reflect on my goals and progress easily. This helps me understand what I need to work on in my personal and school life.
- Increased productivity: Since my bullet journal is completely personalized, I feel more motivated to plan and organize.
For more details on whether you should start bullet journaling, check out my post “Is Bullet Journaling Worth It? Pros + Cons of Bullet Journaling”
How to Start a Bullet Journal
Step 1: Get bullet journal supplies
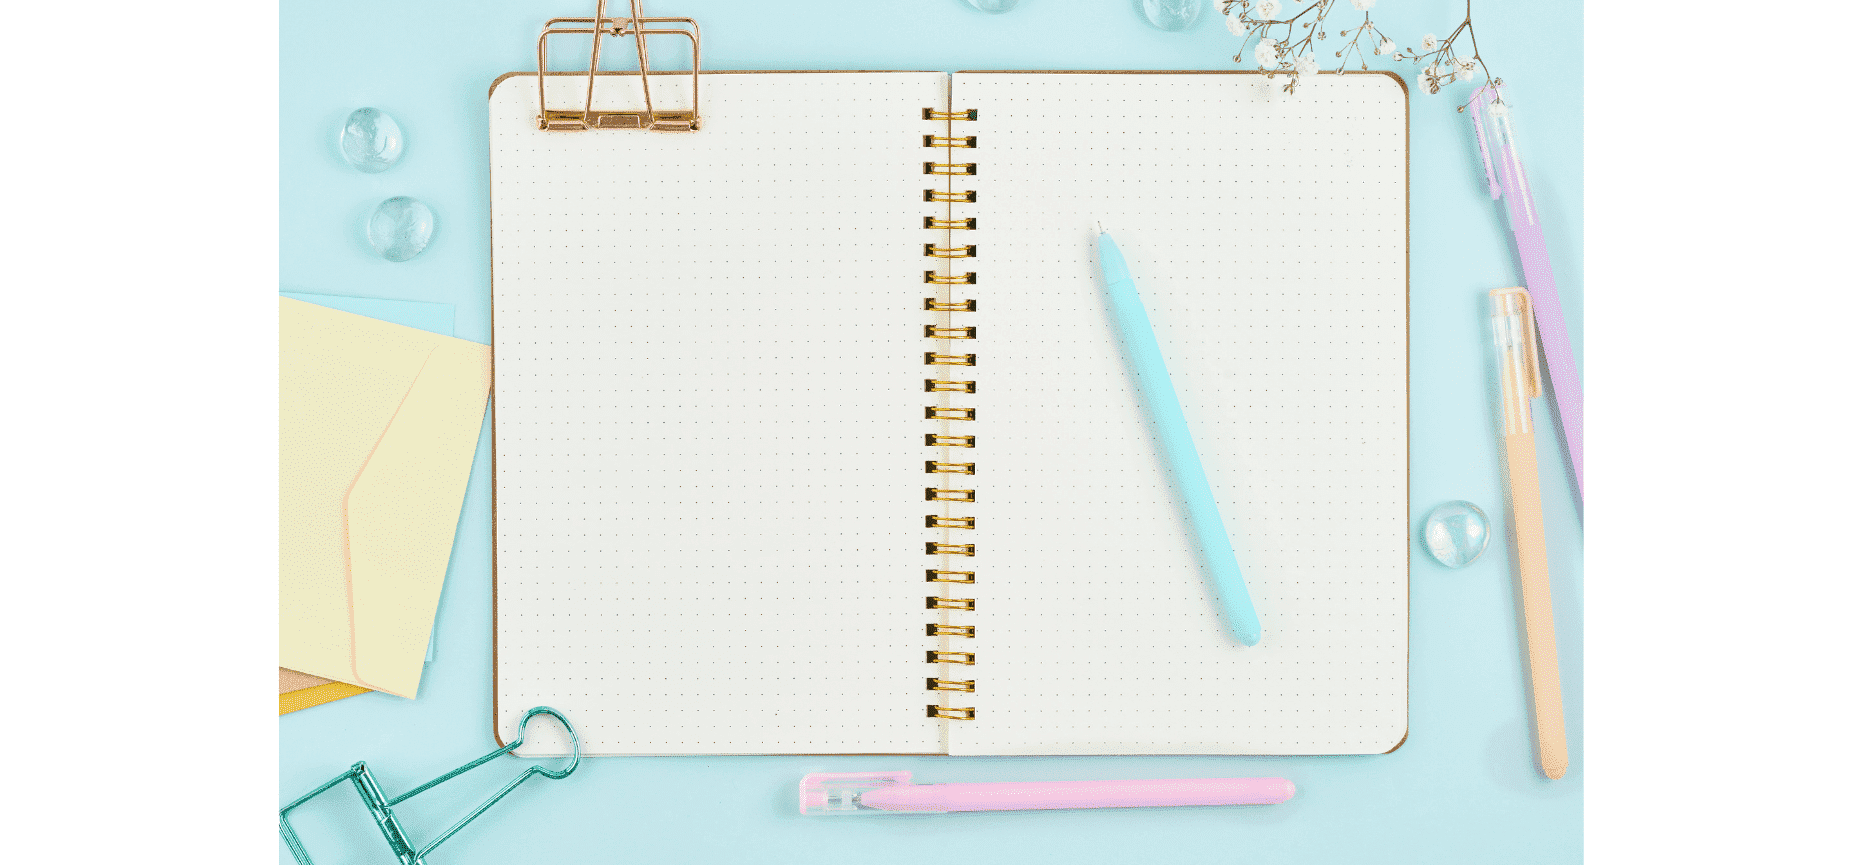
The basic bullet journal supplies that everyone needs are A) a notebook and B) a pen (unless you plan on doing digital bullet journaling).
However, you may be debating which notebook to get. Or, you may be interested in spicing up your journal with some fun designs but don’t know what stationery to get.
In either case, I’ve got you covered!
Choosing a Notebook
In the bullet journal community, the Leuchtturm1917 A5 Dotted Notebook is extremely popular. This was the journal I used in my first year of bullet journaling, but I haven’t used it since.
You may be wondering why. For starters, there’s nothing wrong with the Leuchtturm1917. It has a simple minimalist design, a decent price, and 240 numbered pages.
However, I found that the markers and brush pens I used would sometimes bleed through.
My general rule of thumb is:
If you’re planning on sticking to a minimalist bullet journal, then the Leuchtturm1917 will suffice. But if you want to get creative with colorful designs and a variety of stationery, you may want to consider a notebook with thicker pages.
Here are the other journals I’ve used:
The Minimalist Art A5 Dotted Notebook is cheaper and has extra thick pages (no markers or pens I’ve used have ever bled through). However, it has fewer pages (186). Depending on your needs, this may be sufficient. But if it’s not, you may consider buying a second journal later in the year (which I suppose makes it not cheaper, but only by a few dollars).
The SeQeS Medium A5 Dotted Notebook is slightly cheaper than the Leuchtturm1917 and has extra thick pages (I haven’t experienced ink bleeding with this notebook either). It also has several minimalist and cute cover designs to choose from. Like the Minimalist Art notebook, however, it has fewer pages (160).
Simple Pens
If you’re looking for a simple black pen, check out these Pilot G2s. I don’t use these pens for my bullet journal (I prefer fineliners), but I use them frequently for schoolwork. They write smoothly and are also refillable.
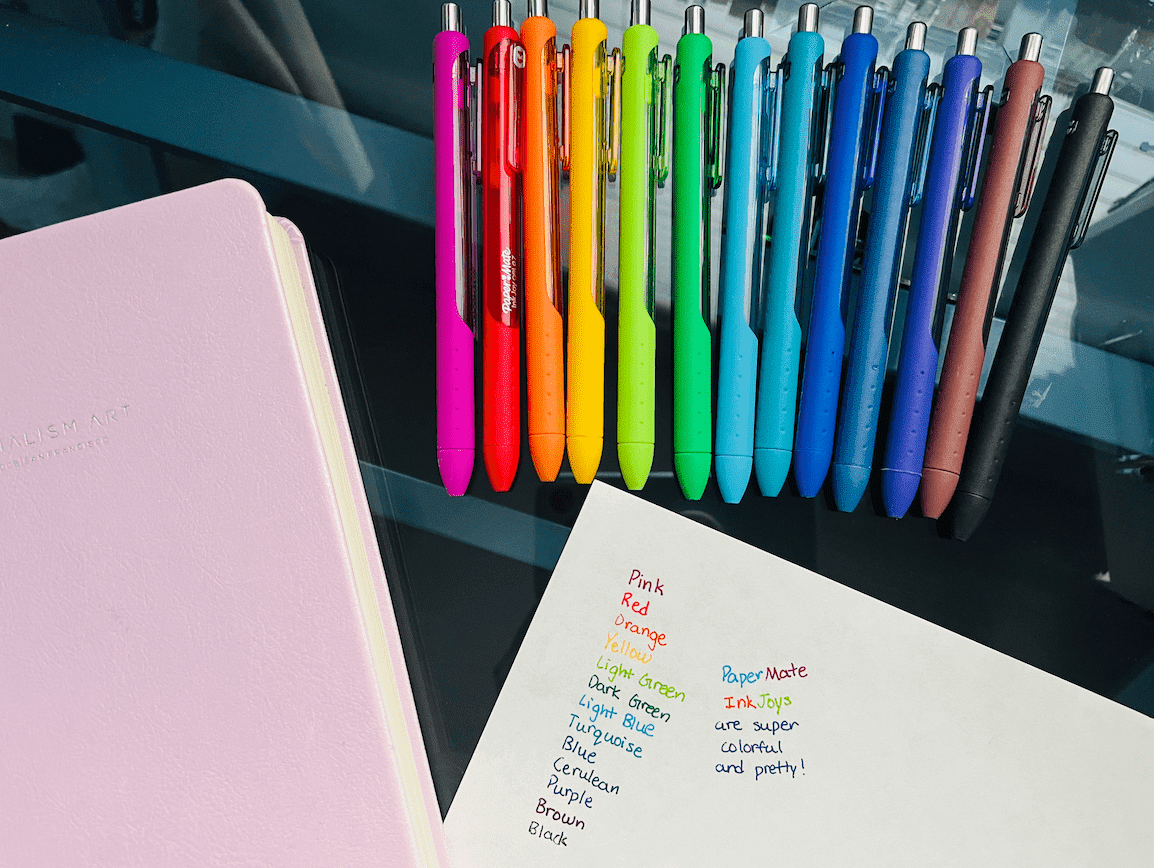
If you’re looking to add some color to your spreads, check out these Paper Mate InkJoys, which come in an entire rainbow of colors. These pens write smoothly, look nice, and last a good amount of time.
Fineliners
Using fineliners instead of pens is very popular in the bullet journaling community. That’s because they dry super fast and don’t smudge.
Here are some of my favorites:
The Sakura Pigma Microns are affordable, good quality, and come in a variety of tip sizes. I typically stick to the 05 size, but I use the 10 and the 01 for line thickness variation in doodles.
I also love the Faber-Castell Pitt Artist Pens. These also come with a brush pen, if you’re interested in doing some hand lettering.
Ruler
Although dotted notebooks have dots to follow, they are not a guarantee of straight lines (I’ve learned that from experience, unfortunately). As such, you’ll want to have a small ruler to help you draw lines.
Miscellaneous Art Supplies
Finally, if you’re interested in adding doodles and other artistic elements to your bullet journal, you may want to consider investing in some good quality art supplies.
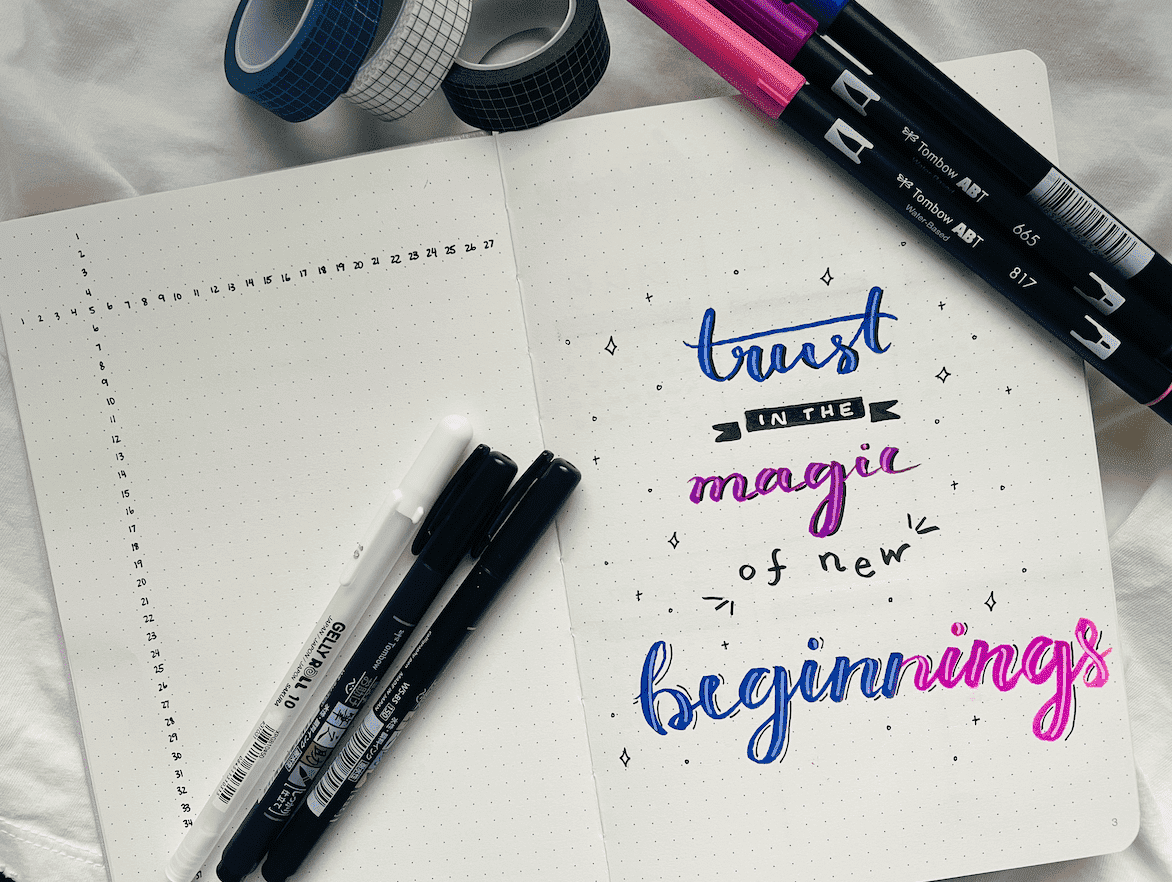
For hand lettering, I personally love the Tombow Dual Brush Pens. I’ve had some of mine for over two years, and they still work. I’ve also used the Tombow Fudenosuke Brush Pens since I started bullet journaling. I use them very frequently, and so far, I’ve only had to get two packs! These come with a soft and hard tip, so you can switch between them according to your needs.
Many people who bullet journal also use washi tape. I wasn’t super big on washi tape until my sister gave me this pack of Grid Washi Tape for my birthday. It can be used in so many different spreads to add a little fun and color.
Lastly, you may want to consider getting stickers. This Planner Basics Sticker Pack has a variety of stickers for all your planning needs. However, you can also buy stickers based on the aesthetic you’re going for. (I personally love anything vintage-themed, so I have these.)
For a full guide to high-quality and affordable bullet journal supplies, check out “Complete List of Best Bullet Journal Supplies for Beginners”
Step 2: Set up bullet journal basic elements
Two basic elements should be placed at the beginning of every bullet journal. They are the bullet journal key and index.
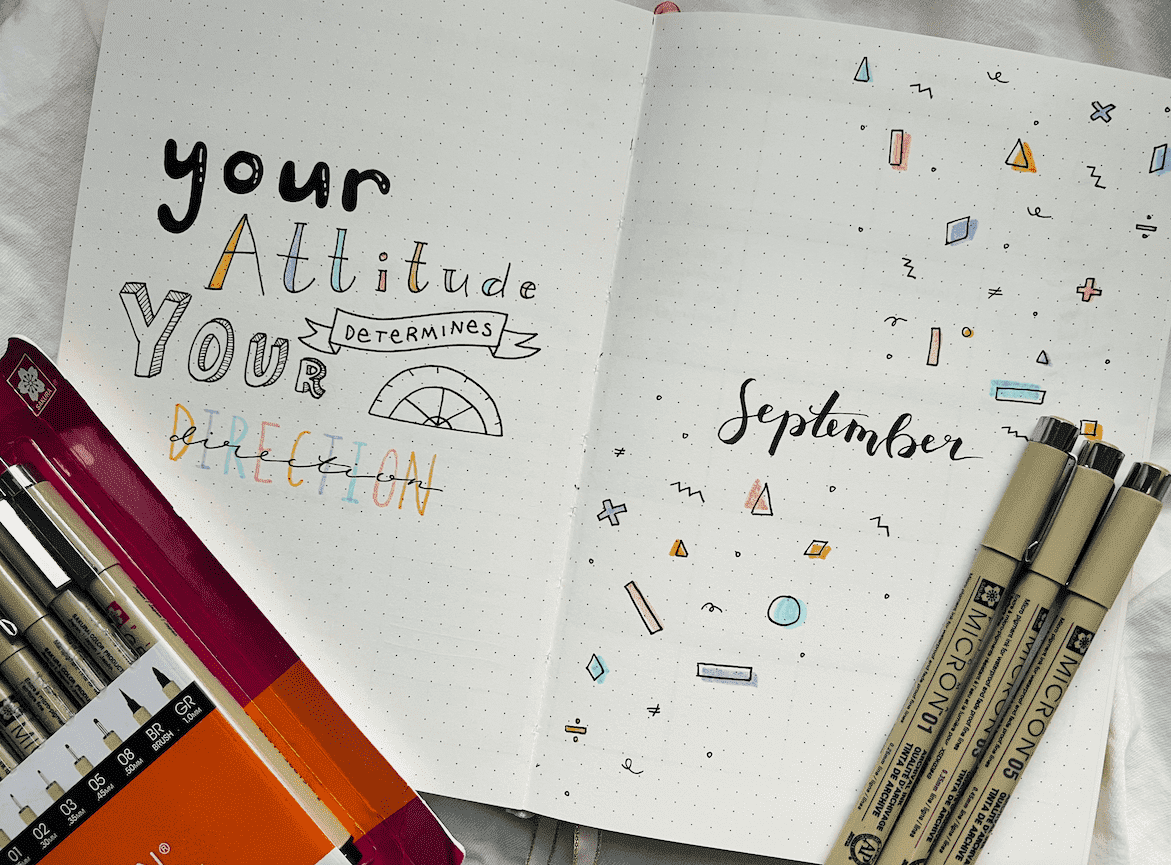
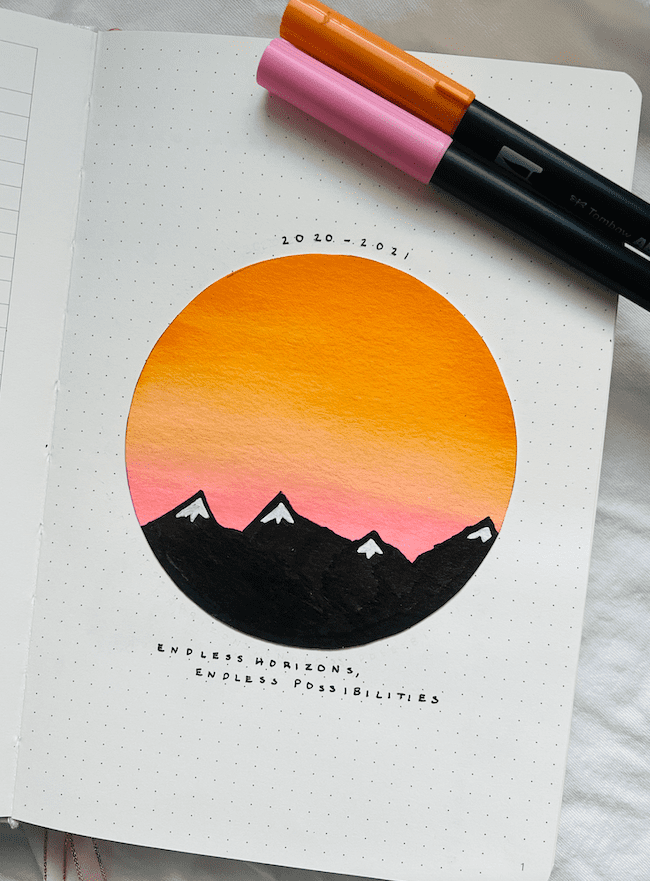
I like to be a little extra and add a cover page, but it’s totally up to you. Here an example of a cover page I made:
Bullet Journal Key
The bullet journal key is key to making your journaling system work (see what I did there? ok, sorry about the bad pun). In Ryder Carroll’s original system, it consisted of the following components:
- A bullet (“¢) for tasks
- An open circle (â˜) for events
- A dash (-) for notes
- An asterisk (*) for priorities
- An “X” over bullets for completed tasks
- A
strikethrough tasks you no longer need to complete - A right arrow (>) for tasks you didn’t complete one month and want to move to the next
- A left arrow (<) for tasks to complete later that should be moved to the future log (if you’re not sure what this is, I’ll explain later in this post)
In summary, at the end of each month, you should review your uncompleted tasks during the month. Then, you need to decide if these tasks are still worth your time. If they are, they should either be completed in the upcoming month (>) or be moved to the future log (<).
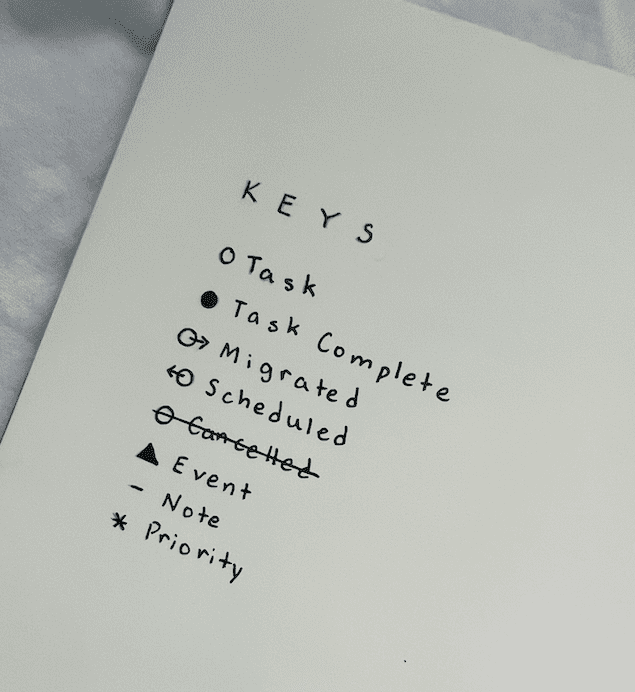
I put a slight twist on the classic key. Here’s mine:
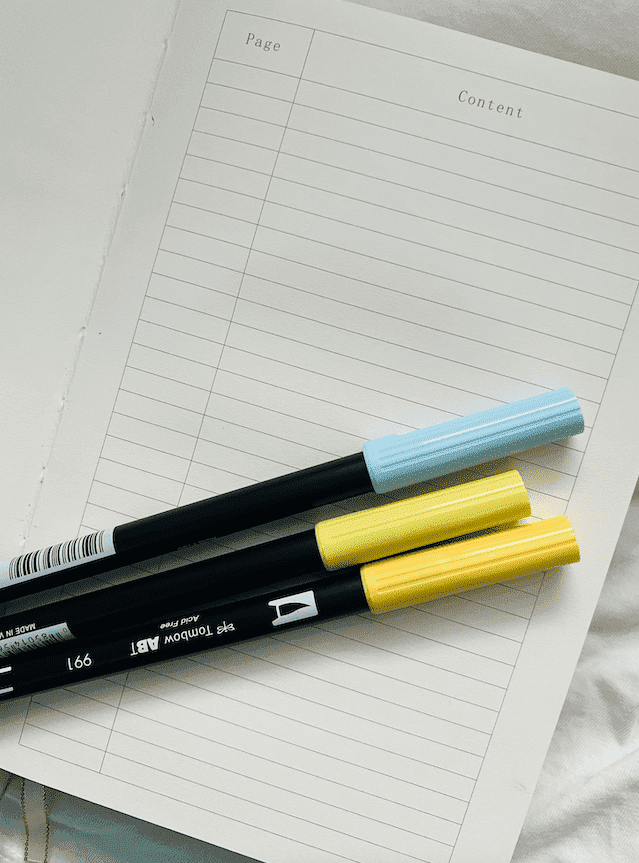
Bullet Journal Index
The index is where you should document all your pages. This way, when you need to find a particular spread, you can just refer to your index quickly. The Leuchtturm1917 and Minimalist Art notebooks come with pre-made indexes, but the SeQeS notebook does not. If your notebook doesn’t come with an index, you can set it up pretty quickly.
Here’s a picture of the index from the Minimalism Art notebook:
Step 3: Set up bullet journal collection pages
If you’re not sure what bullet journal collection pages are, they’re pages where you can organize related items. The most basic collection page that everyone should have is a future log, but there are a variety of other pages you can set up in your bullet journal.
And the beauty of collection pages is that they don’t all need to be set up at the beginning of your bullet journal. If you need a new collection page later in the year, you can set one up on the next available page and record it in the index.
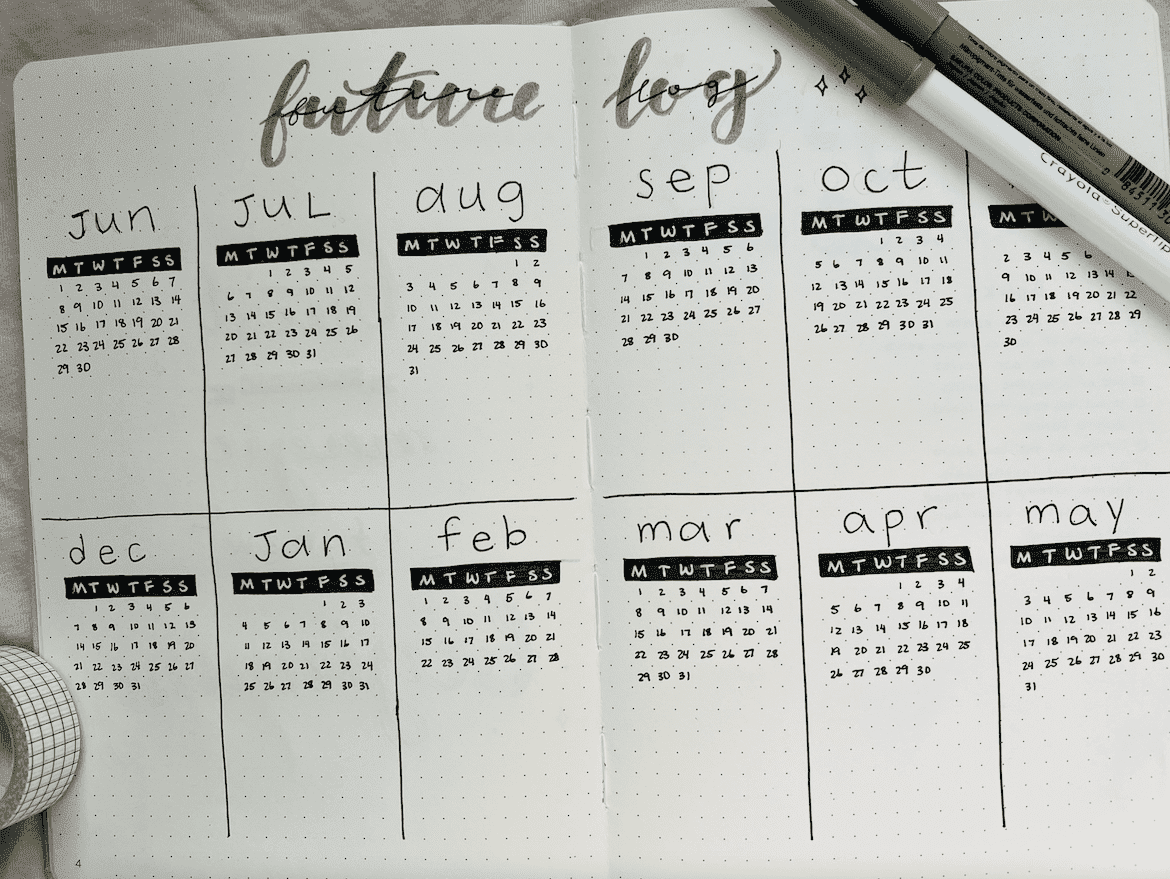
Future Log
The future log is an overview of the entire year that allows you to plan ahead. Under each month, you can put birthdays, holidays, events, and project deadlines, to name a few possible items.
Here’s one of my future log setups:
Other Bullet Journal Collection Page Ideas
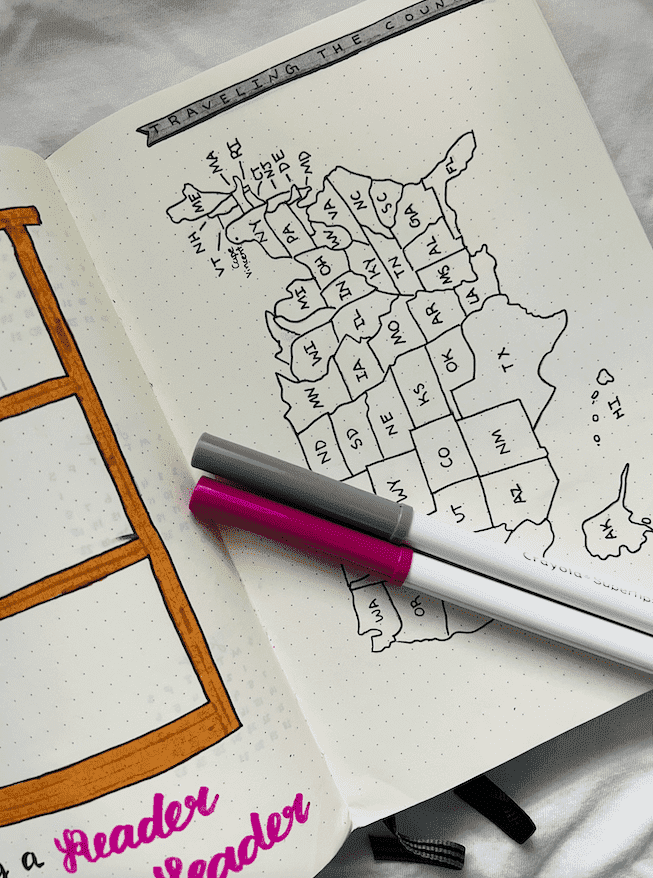
Here’s an example of a collection page I made to keep track of all my traveling within the states in one year:
Some other ideas for collection pages include a:
- Bucket list
- Year in polaroids (check out this one from Amandarachlee)
- Login information table
For examples of other collection pages you can add for all your organization needs, click here.
You may also like “15 Minimalist Student Bullet Journal Spreads To Boost Grades”
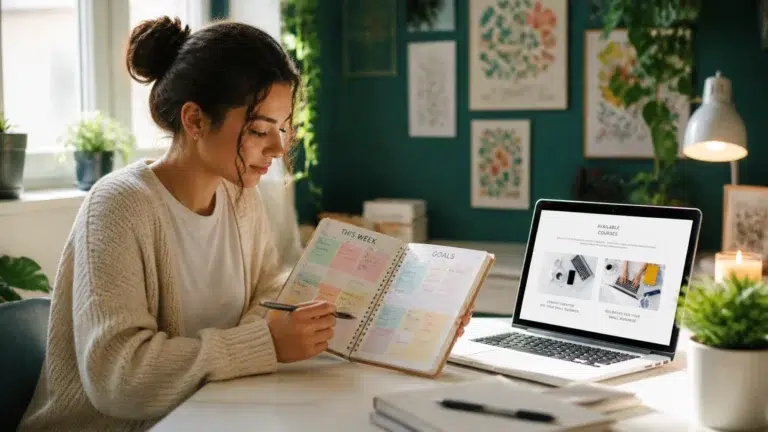
Step 4: Set up bullet journal monthly layouts
In its most basic form, the bullet journal monthly layout consists of an overview of all monthly events and goals. On the left hand page, you list out the dates in the month and fill in events next to corresponding dates. On the right hand page, you list out all tasks and goals you want to achieve during the month.
However, if you want take the extra step, here are some other things you can include:
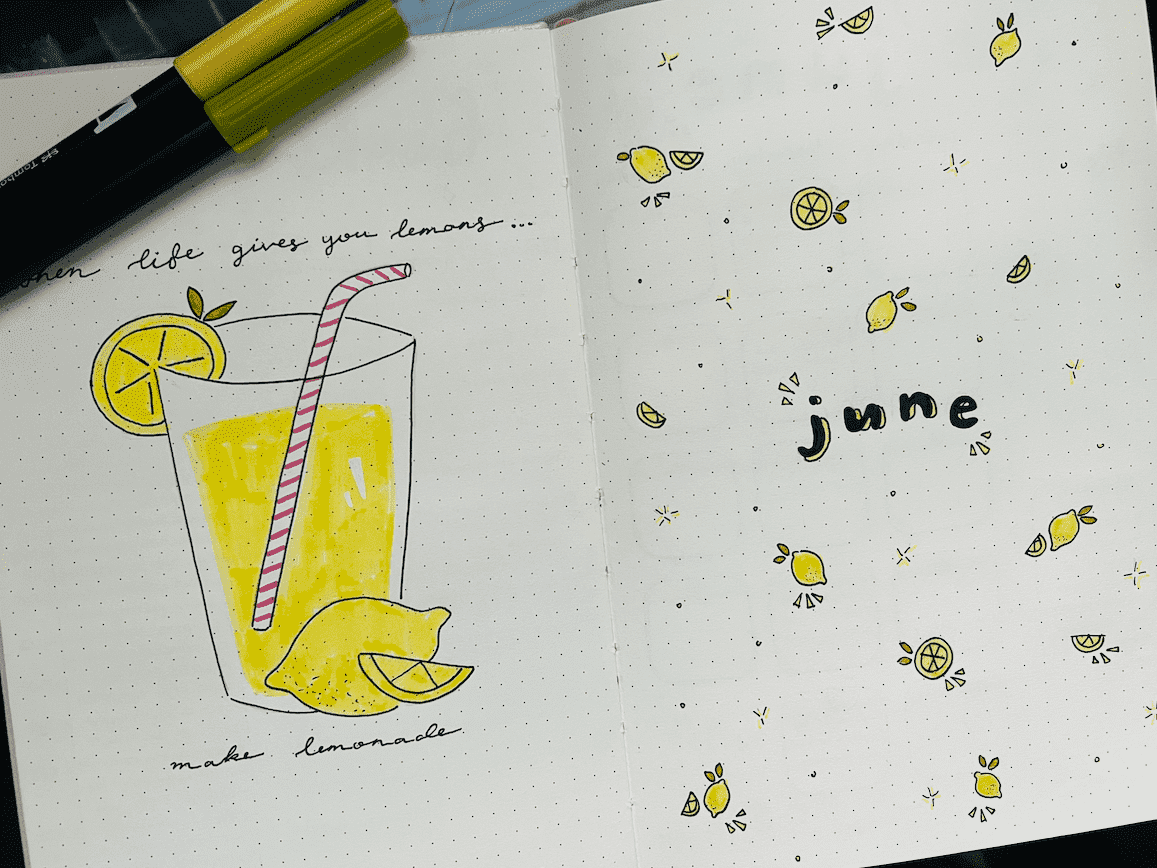
Monthly Cover Page
By having a cover page, you can find a specific month easily when flipping through your journal. Of course, this setup can be as minimalist or elaborate as you want.
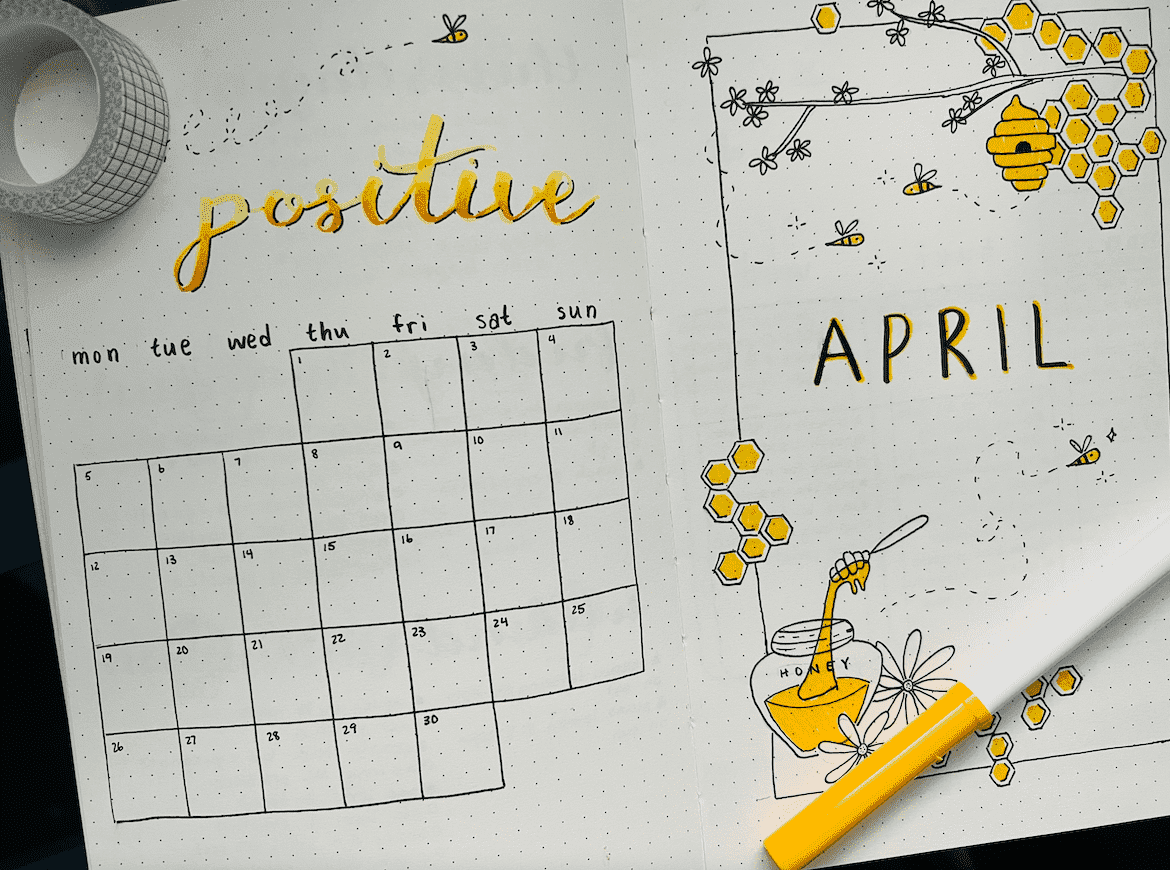
Monthly Overview Spread
For the monthly overview, you can just list out the dates of the month vertically. However, if you want, you can also turn your monthly overview into a calendar layout:
Monthly Habit and Mood Trackers
Trackers are very popular in the bullet journaling community, so I used them when I first started. However, I didn’t like them, so I no longer make them. Nevertheless, you may find them to be helpful, so I’ve included an example of a habit tracker and a mood tracker below:
Photo Credit: Aska on Instagram
Photo Credit: Jishi on Instagram
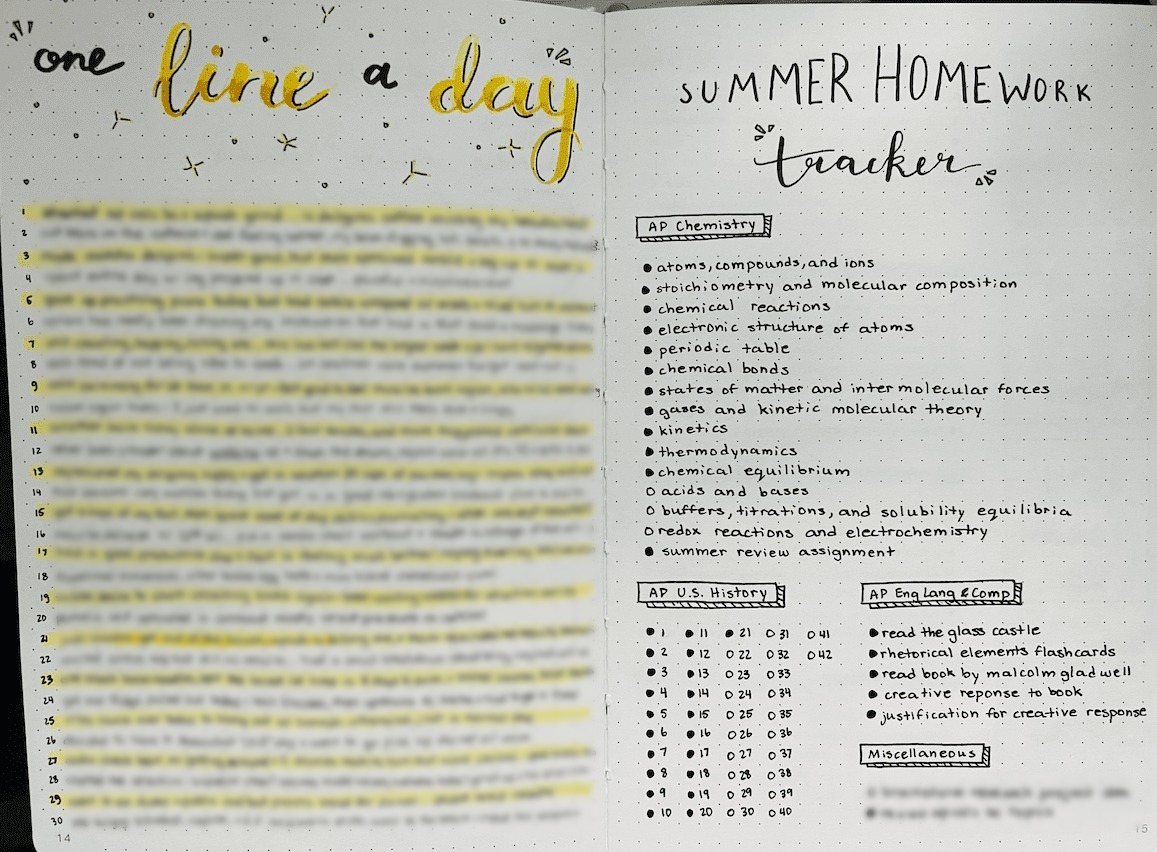
Monthly Collection Pages
Monthly collection pages enable you to organize related items specific to a given month.
For example, you can create pages for your monthly budget, house cleaning schedule, and favorite songs, to name a few items.
Here’s two monthly collection pages I made:
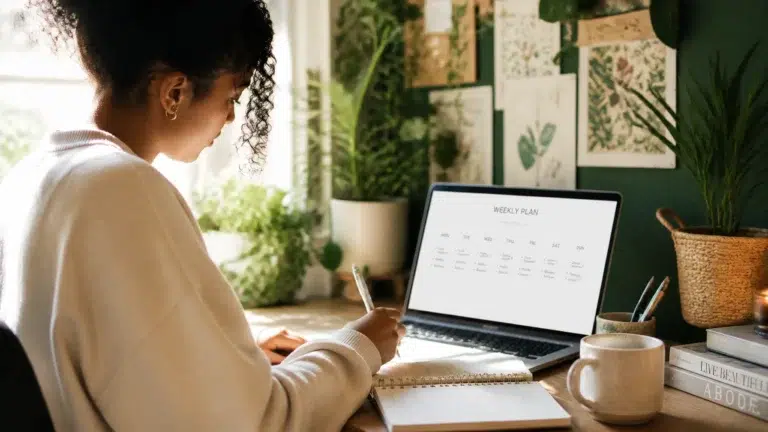
Step 5: Set up weekly bullet journal layouts
The weekly bullet journal layouts are where you document all of your daily tasks. In its simplest form, you write the day of the week and list out your tasks and events below it. The next day, you can just create your daily list starting on the next available line.
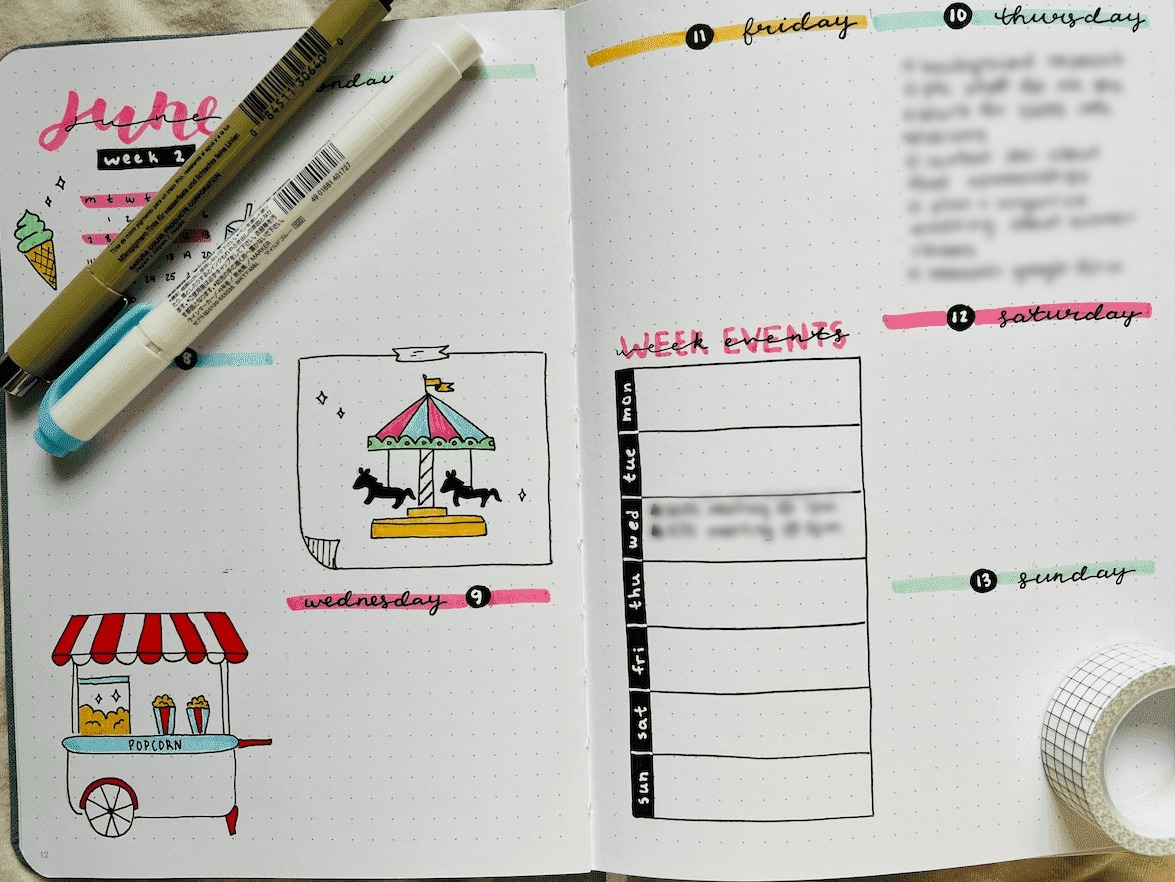
However, it’s also very popular to set up full weekly spreads in advance. For example, here’s a weekly spread from my bullet journal:
Quick Review of How to Start a Bullet Journal for Beginners
Here’s a quick recap of the five steps to start a bullet journal:
Step 1: Get your bullet journal supplies
Necessary: good quality notebook and pens
Optional: art supplies to add a little artistic flare to your journal
Step 2: Set up bullet journal basic elements
Necessary: key and index
Optional: cover page
Step 3: Set up bullet journal collection pages
Necessary: future log
Optional: other collection pages (e.g. bucket list, year in polaroids, login information table)
Step 4: Set up monthly bullet journal layouts
Necessary: overview of events, tasks, and goals
Optional: monthly cover page and collection pages
Step 5: Set up weekly bullet journal layouts
Necessary: daily lists of tasks and events
Optional: complete weekly spreads made in advance
And that’s all! If you have any questions about bullet journaling or would like more bullet journaling inspo, let me know in the comments below.
Now, it’s time to get journaling and start your journey to become more productive, organized, and successful!
For more posts on bullet journaling, make sure to check out:
- Complete List Of Best Bullet Journal Supplies For Beginners
- 15 Minimalist Student Bullet Journal Spreads To Boost Grades