The Art of Aesthetic Note-Taking: How to Make Your Notes Pretty AND Useful
You’ve seen them all over Pinterest and TikTok: those perfectly curated pages filled with pastel highlighters, flawless calligraphy, and intricate diagrams. They look amazing, right? But if you’ve ever tried to replicate them during a fast-paced lecture, you probably ended up with a half-finished header and zero actual information about the French Revolution.
The truth is, notes are for learning, not just for looking at. But here’s the secret: when your notes are organized and visually appealing, your brain actually wants to engage with them more. The "Art of Aesthetic Note-Taking" isn't about being a professional artist; it’s about creating a system that makes studying feel less like a chore and more like a creative project.
Ready to transform your messy scribbles into a high-performance study tool? Let’s dive in.
Prioritize Functionality Over Fluff
Before you pick up a single brush pen, we need to set the golden rule: Information comes first; aesthetics come second. There is no point in having the world's prettiest notebook if you can't pass your finals. Aesthetic notes should be a tool for clarity, not a distraction.
- Capture first, decorate later. During a live lecture, focus on getting the core concepts down in a clean, legible way. You can add the fancy titles and washi tape during your review session.
- Use white space intentionally. Don’t crowd your pages. Leaving "breathing room" makes it much easier for your eyes to find key information later.
- Keep it sustainable. If your system takes three hours per page, you won’t stick with it. Choose a style that you can maintain throughout the entire semester.
Master These 3 Essential Layouts
Your layout is the skeleton of your notes. If the skeleton is weak, the whole thing falls apart. Depending on the subject you’re studying, you might want to rotate between these three proven methods.
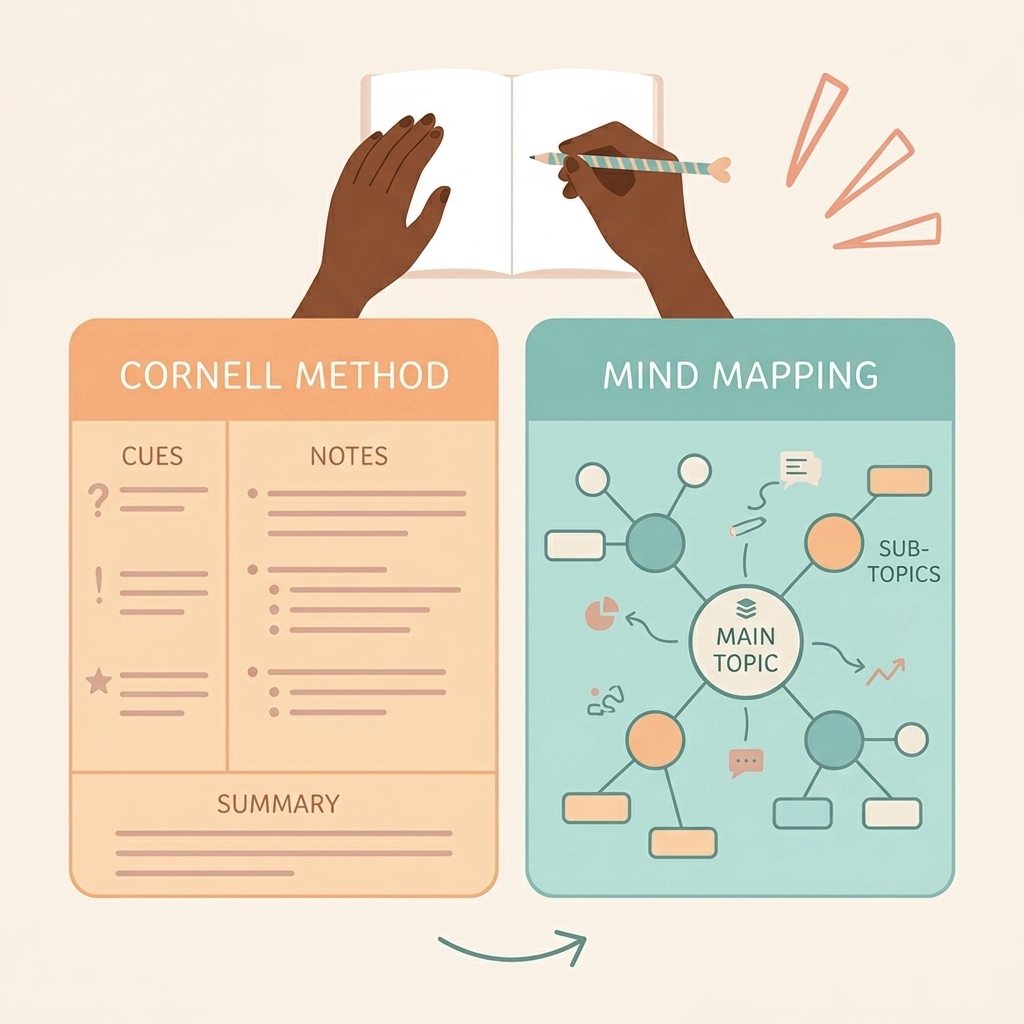
- The Cornell Method: This is the GOAT for active recall. Divide your page into three sections: a narrow left column for Cues/Questions, a large right section for Notes, and a bottom section for a Summary. It forces you to synthesize information rather than just transcribing it.
- The Outline Method: Perfect for structured subjects like History or Law. Use a hierarchical system of bullet points. Use Bold Headers for main topics, sub-bullets for supporting details, and even smaller bullets for specific examples.
- The Mapping Method: If you’re a visual learner studying complex systems (like Biology or Literature), use mind maps. Start with a central concept and branch out into related ideas. It’s a fantastic way to see the "big picture" connections.
Build a Smart Color Coding System
Color is one of the most powerful tools in your aesthetic arsenal, but only if you use it logically. Randomly highlighting everything in neon pink will only make your brain tune out. You need a consistent color logic that stays the same across all your notebooks.
- Assign functions to colors. For example: Blue for Vocabulary, Green for Dates/Events, and Yellow for Core Concepts.
- Limit your palette. Stick to 3–4 colors per subject. Using too many colors creates visual "noise" that makes it harder to focus.
- Use muted tones. Swap those blinding neon highlighters for pastel "mildliners." They are much easier on the eyes during long night-before-the-exam study sessions.
If you’re looking for the exact tools we recommend to get this look, check out our Essential College School Supplies List to see the highlighters and pens that actually work.
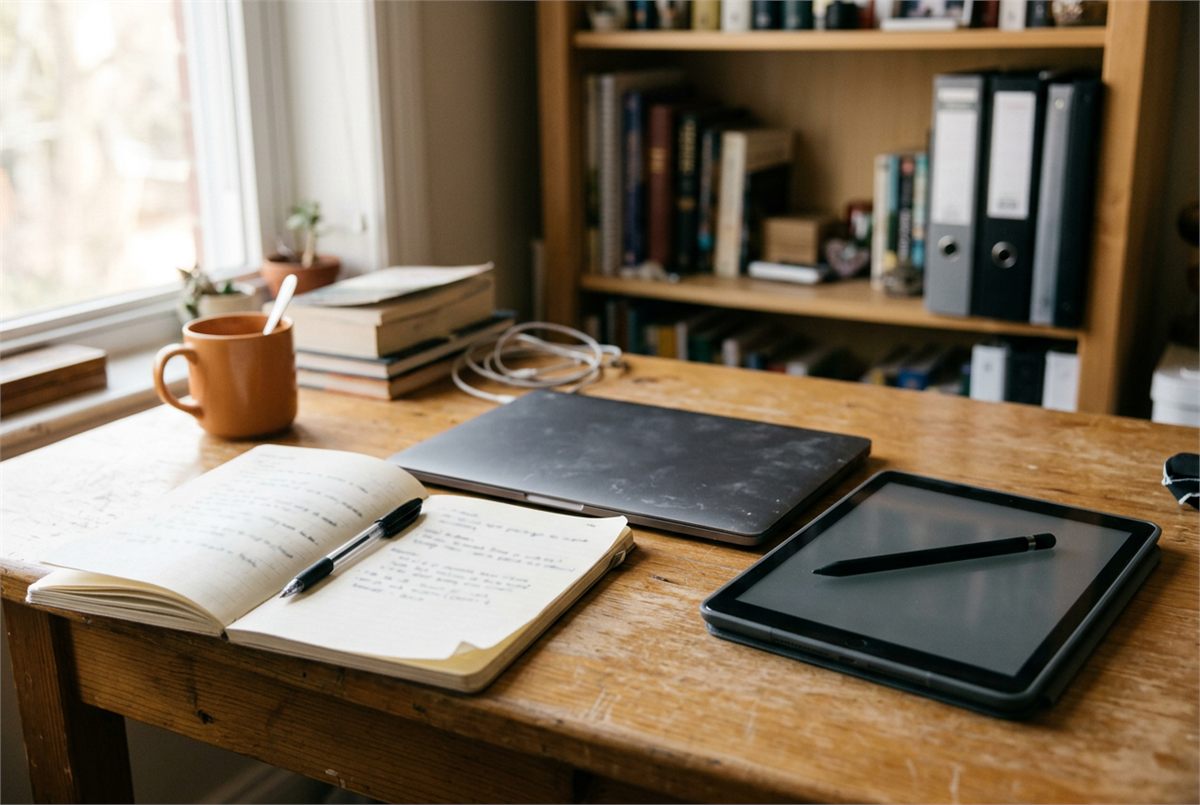
Invest in the Right Tools (Analog or Digital)
Whether you are a die-hard paper lover or a digital devotee, your tools matter. You don't need a thousand-dollar setup, but a few key items will make the process much smoother.
- The Paper Route: Look for high-gsm paper that won't "ghost" (where the ink bleeds through to the other side). A simple grid or dot-grid notebook is often better than lined paper because it gives you the flexibility to draw diagrams while keeping your text straight.
- The Digital Route: If you’re using an iPad or tablet, apps like GoodNotes or Notability are industry standards. They allow you to move text around, resize images, and: best of all: undo mistakes instantly.
- Hybrid Workflow: Many students find success by taking rough notes on a laptop and then rewriting them "aesthetically" into a physical planner or notebook as a form of review.
Small Details That Level Up Your Pages
Once you have the structure and the color down, you can add those finishing touches that make your notes truly "aesthetic." These small details serve a purpose: they act as visual anchors that help you navigate your pages quickly.
- Consistent Headers: Pick one font style for your main titles (like a simple faux-calligraphy or a bold block letter) and stick to it. It makes your notebook look professional and cohesive.
- Use Banners and Boxes: Wrap important formulas or "Must-Know" definitions in a simple box or banner. This makes them pop out when you are skimming your notes.
- Simplified Diagrams: You don't need to be an illustrator. Use simple shapes and clean lines to represent complex ideas. A well-placed arrow can explain a relationship better than a paragraph of text.
- Add a "Key": At the beginning of your notebook, create a small key for your symbols (e.g., a star for "Will be on the test," a question mark for "Ask the teacher").
Balance Your Life and Your Studies
Note-taking is just one piece of the puzzle. To truly succeed, you need to organize your entire life, not just your biology class. If you're feeling overwhelmed by all the moving parts of high school or college, it helps to have a broader plan.
We’ve designed a High School Four-Year Plan Template and a Free Undated Monthly Planner to help you keep your assignments, habits, and goals in order while you're busy making your notes look beautiful.

Join The Community
Ready to take your student life to the next level? You don't have to figure it all out on your own. We’re here to give you the honest, actionable advice you need to thrive in and out of the classroom.
Join the Learning With Angie community here to receive biweekly tips, productivity hacks, and exclusive resources delivered straight to your inbox. Let’s make this your most organized and successful semester yet!
Want a head start? The Ultimate Student Planner in my shop was made for exactly this — it’ll save you a ton of time.