The Ultimate Guide to a Killer Homeschool Portfolio for High School
Every homeschooling parent in the United States knows that keeping track of a high schooler’s achievements can feel like sorting puzzle pieces after a busy year. Creating a professional portfolio does more than satisfy state requirements. It provides a clear way to showcase academic progress and growth, opening doors for college admissions and scholarships. Discover how to gather, organize, and present records so your student’s hard work stands out to evaluators and universities.
Quick Summary
| Key Point | Explanation |
|---|---|
| 1. Gather Comprehensive Student Records | Collect all written work, assessments, and extracurricular documentation to showcase learning throughout the year. |
| 2. Document Curriculum and Learning Objectives | Create a detailed record of curriculum choices and timelines, highlighting learning goals to provide structure to the portfolio. |
| 3. Select Quality Academic Work Samples | Choose representative work that best demonstrates the student’s growth and learning across all subjects rather than including every assignment. |
| 4. Include Extracurricular Activities | Highlight activities outside academics, such as sports, volunteering, and personal projects, to present a well-rounded view of the student. |
| 5. Verify Completeness and Presentation | Ensure the portfolio is comprehensive and organized, checking for clarity and professionalism in its presentation. |
Step 1: Gather Essential Student Records and Materials
This is where everything starts. Before you can build an amazing portfolio, you need to collect all the pieces that show what your student has accomplished throughout the year. Think of this step as archaeological work – you’re digging through the year to uncover all the evidence of learning that happened. When you have everything in one place, organizing and showcasing it becomes so much easier.
Start by gathering your student’s written work from every subject. This includes essays, research papers, book reports, creative writing pieces, and any assignments that demonstrate their thinking. Next, collect samples of their academic work like completed worksheets, problem sets from math, science lab reports, and quizzes. Don’t skip the “smaller” assignments either. Sometimes a single worksheet or quiz response tells a powerful story about what your student learned. Then add any assessments or evaluations you’ve done throughout the year. If you gave practice tests, progress checks, or used formal assessment tools, include those too. These pieces show growth over time, which is exactly what colleges want to see.
You should also gather documentation of learning outside the traditional classroom. Did your student take a tutoring class? Include enrollment confirmation and any certificates of completion. Did they do job shadowing or internships? Collect photos, supervisor feedback, or completion letters. Include lists of extracurricular activities with dates and descriptions of what was involved. Photos from field trips, science experiments, or educational experiences bring your portfolio to life. All of this matters because it shows the full picture of your student’s education, not just what happened at the desk.
Organize these materials chronologically or by subject as you gather them. Some families use folders, binders, or boxes to keep everything together. Others prefer digital storage, uploading documents as they accumulate throughout the year. Whatever method you choose, make sure you can actually find things later. You’ll want to include lists of these materials in your portfolio itself, so having them organized now makes that job much simpler.
Here’s a comparison of physical versus digital portfolio organization methods:
| Organization Method | Benefits | Challenges |
|---|---|---|
| Physical (binders, folders) | Easy to flip through, tactile presentation | Requires storage space, harder to duplicate |
| Digital (folders, scanned docs) | Saves space, easy to share online | Needs tech skills, files can get lost |
One more thing: check your state’s requirements. Some states have specific rules about what homeschool records must include, so knowing those guidelines helps you gather exactly what you need. Your student’s portfolio will include evidence that meets both your family’s goals and any legal requirements in your area.
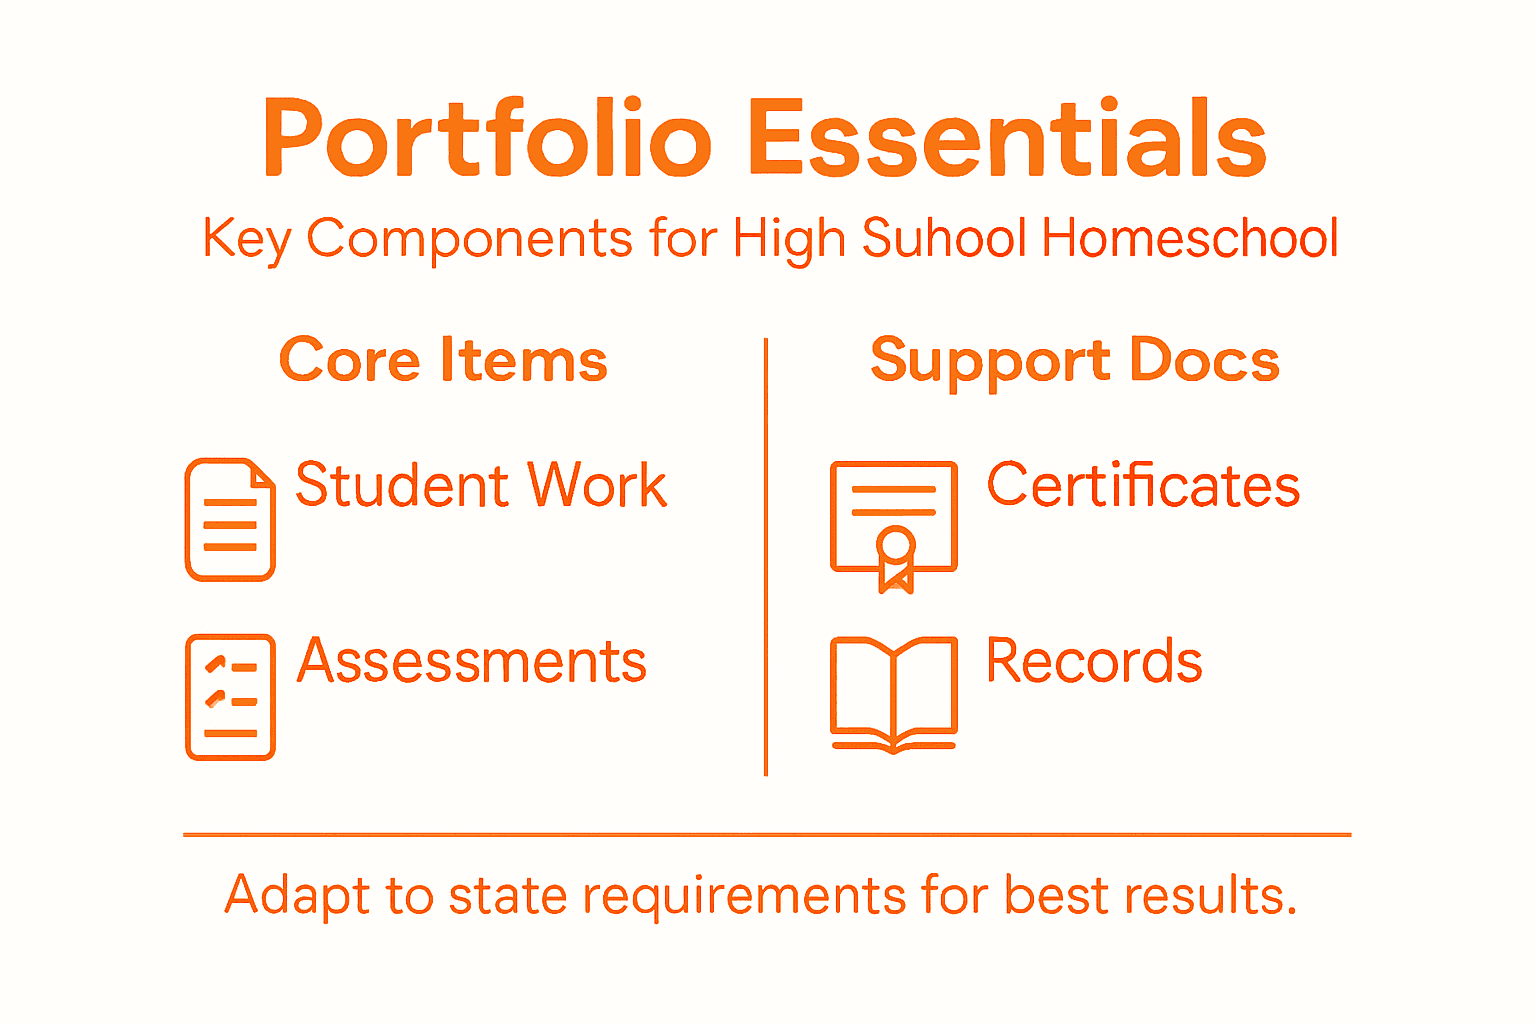
Pro tip: Start gathering materials monthly instead of scrambling at year’s end. Set a simple system where you collect finished work as it completes, maybe in a labeled envelope or folder for each month, so you have everything organized before portfolio season begins.
Step 2: Organize Curriculum Documentation and Schedules
Now that you’ve gathered all your materials, it’s time to create a clear record of what you actually taught and when you taught it. This step involves documenting your curriculum choices and creating a timeline that shows your student’s academic journey throughout the year. Having this organized documentation is what transforms a pile of papers into a professional portfolio that tells a complete story.
Start by listing the curriculum materials and resources you used for each subject. Write down the names of textbooks, online programs, educational apps, workbooks, and any other learning tools your student engaged with during the year. Don’t just name them either. Include details about what each resource covered and why you chose it for your student. Next, create a simple timeline that shows when your student worked through different units or topics. Designing curriculum with intentional timelines helps you track progress and shows colleges exactly what your student accomplished during each part of the year. You might organize this by month, semester, or by subject. Include start and end dates for major assignments, projects, and units. If your student completed a unit on the Revolutionary War in October or finished algebra in March, write it down. These dates give structure and credibility to your documentation.
Next, document your learning objectives for each subject or course. What did you want your student to learn? What skills were they supposed to develop? You don’t need to overthink this. Simple statements work perfectly. For example, you might write “English 10: Students will read classic literature, write analytical essays, and develop strong communication skills.” Or “Biology: Students will understand cell structure, genetics, and ecosystems through labs and research.” These objectives show that your homeschool wasn’t random but intentional and organized. Then match your student’s work samples to these objectives. A strong essay demonstrates that writing objective was met. Lab reports show science learning actually happened. This connection between what you planned and what your student completed is exactly what makes your portfolio powerful.
You should also document any adjustments you made throughout the year. Did you realize your student needed extra help in a certain area and add more resources? Did you move faster through some subjects than planned? Colleges appreciate seeing that you monitor progress and adjust accordingly. It shows you’re paying attention to your student’s actual learning, not just following a rigid plan. Include a brief note about these changes alongside your original timeline.
Consider creating a simple one page overview for each subject that lists the curriculum used, the learning objectives, the timeline, and the work samples that demonstrate success. This makes your portfolio incredibly easy to navigate. Someone reviewing your student’s work can quickly understand what was supposed to happen and see the evidence that it actually did.
Pro tip: Create a master spreadsheet with columns for subject, curriculum, start date, end date, and key learning objectives. This single document becomes your reference guide when assembling the final portfolio and ensures nothing gets forgotten.
Step 3: Compile Samples of Academic Work and Projects
This is where your portfolio really comes to life. You’re going to select the best examples of your student’s work that show growth, effort, and learning across all subjects. The key here is being selective. You don’t need every single assignment your student completed all year. Instead, you’re choosing representative samples that tell the strongest story about their academic abilities and progress.
Start by reviewing all the work you gathered in Step 1. Look through essays, math tests, science projects, art assignments, and any other completed work. As you look through everything, ask yourself which pieces best demonstrate what your student learned. A well-written essay that shows strong analysis skills is perfect. A math test with a high score demonstrates mastery. A research paper that pulls together multiple sources shows critical thinking. A creative project that took real effort and thought represents your student’s abilities. Homeschool portfolios include curated work samples that demonstrate academic progress rather than every single assignment completed during the year. This means you’re being intentional about what goes in. You might choose three strong essays instead of fifteen, or two excellent math problem sets instead of a year’s worth of worksheets. Quality over quantity always wins.
Organize these samples by subject or chronologically depending on what makes sense for your portfolio format. If you organize by subject, create a clear section for English, Math, Science, History, and any other courses your student took. Within each subject, arrange the samples in order from early in the year to later in the year. This shows growth. A student’s writing in September might be solid, but their writing in May after months of practice is noticeably stronger. That progression is powerful evidence of learning. Include a variety of work types too. Don’t just include tests and essays. Add projects, presentations, creative work, and practical assignments. If your student built something in engineering class, include photos. If they created a poster for history, photograph it. If they completed an art portfolio, include samples. Variety shows that learning happened across different types of activities and skills.
For each sample, consider adding a brief note explaining why you included it and what it demonstrates. You don’t need lengthy explanations. A sentence or two works perfectly. For example, you might write “This essay demonstrates strong research skills and the ability to support arguments with evidence” or “This math portfolio shows mastery of algebra concepts and problem solving strategies.” These notes help whoever reviews your portfolio understand exactly what they’re looking at and why it matters. They also show that you’re thinking critically about your student’s learning, not just throwing in random work.
If your student took tests or assessments throughout the year, include those too. They provide concrete evidence of achievement in specific subjects. Include certificates from classes your student took, competitions they entered, or skills they mastered. Include photos from field trips, science experiments, or learning experiences that happened outside the home. All of these pieces contribute to a complete picture of your student’s education.
Pro tip: Create a simple index page that lists every work sample included in your portfolio with a brief description of what each piece demonstrates. This makes it easy for anyone reviewing the portfolio to navigate quickly and understand the organization at a glance.
Step 4: Integrate Extracurriculars and Personal Achievements
Your student’s portfolio is about way more than just test scores and essays. Colleges want to see the whole person. This step is about showcasing everything your student did outside the classroom that demonstrates growth, responsibility, and passion. Activities like sports, music, volunteer work, clubs, leadership roles, and personal projects paint a picture of a well-rounded person who’s engaged with life.
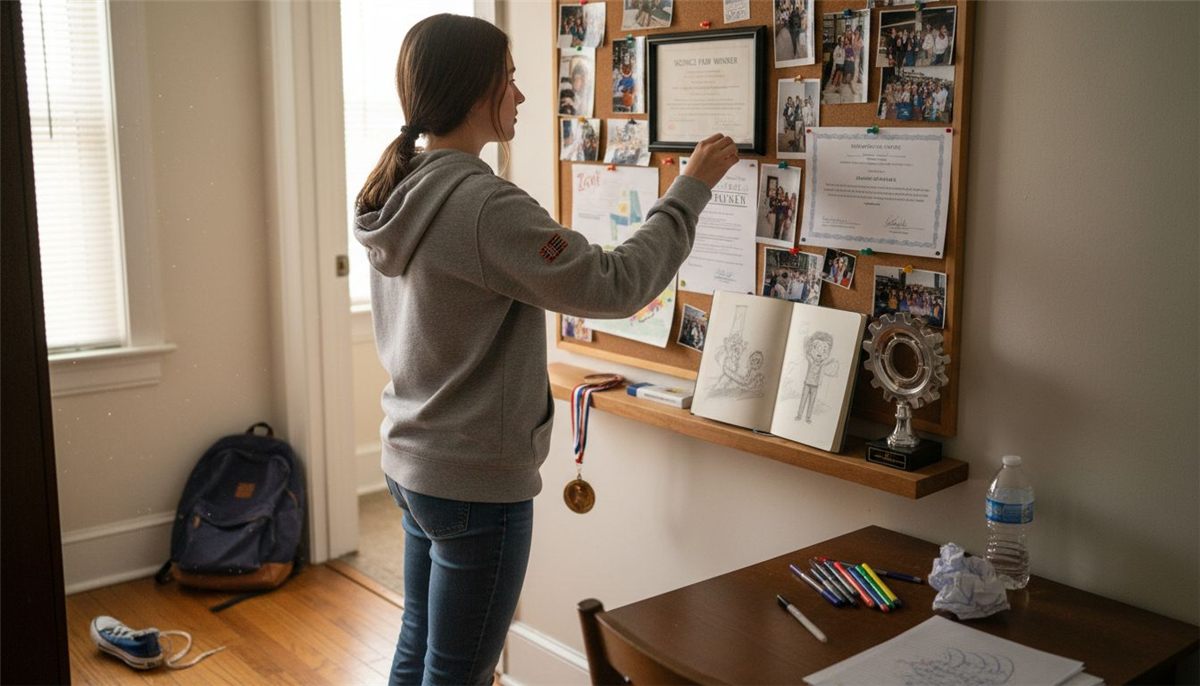
Start by listing all the extracurricular activities and personal achievements your student participated in during high school. Think broadly here. Did your student play a sport or instrument? That counts. Were they involved in clubs, either in person or online? Include it. Did they volunteer in the community, intern somewhere, or work a job? Absolutely include that. Did they win awards, earn certifications, place in competitions, or accomplish something they’re proud of? All of it belongs in your portfolio. Extracurricular activities foster socialization, skill development, and personal growth that go beyond what happens in traditional academics. For each activity, write down when your student participated, what they did, and what skills or growth resulted from the experience. If your student was on a debate team from September through April, note that. If they volunteered at an animal shelter twice a month for six months, document it. If they completed an online certification course, include the details.
Next, gather supporting documents and photos. Ask yourself what evidence you have that these activities actually happened. Do you have certificates of completion? Photographs from events or performances? Award ribbons or trophies? Letters of recommendation from coaches, supervisors, or mentors? Newspaper clippings if your student was featured? Social media posts or news articles? All of these materials add credibility and bring your portfolio to life. If your student gave a presentation at a local business, include a photo. If they performed in a concert, get a picture. If they completed a project for their volunteer work, document it. Photos make extracurriculars feel real and immediate. They show that your student was actually out there doing things, not just claiming to have done them.
Create a section in your portfolio dedicated to extracurricular achievements. You might organize it chronologically or by category like athletics, arts, volunteering, and work experience. For each activity, include a brief description of what your student did and what they learned from it. Keep these descriptions honest and specific. Instead of writing “built leadership skills,” write something like “Led a team of five people in organizing a community fundraiser that raised three thousand dollars.” Specific details are powerful. Include any testimonials or recommendations you received from people who supervised or coached your student. A letter from a volunteer coordinator praising your student’s work ethic means way more than your own praise.
Don’t forget about personal projects your student pursued independently. Maybe your student taught themselves to code and built an app. Maybe they started a blog that grew to hundreds of followers. Maybe they learned photography and created a portfolio of their work. Maybe they designed and built something practical for your home or community. These self-directed projects demonstrate initiative, drive, and genuine interest in learning beyond what you assigned. They show that your student has passions and pursues them actively.
Pro tip: Keep a running log throughout the year of extracurricular activities as they happen, including dates, accomplishments, and any certificates or photos you collect. This prevents scrambling at portfolio time and ensures you don’t forget about activities your student may have done months earlier.
Step 5: Verify Portfolio Completeness and Presentation
You’re almost there. Now it’s time to step back and make sure your portfolio actually has everything it needs and that it looks polished and professional. This is your quality control moment. You want to catch any missing pieces before your student’s portfolio goes to a college, evaluator, or anyone else who’s going to judge your homeschool program based on what they see.
Start by creating a checklist of what your portfolio needs to include. Go through each subject your student studied and verify that you have representative work samples showing their learning. Do you have evidence of their English progress? Check. Math skills demonstrated? Absolutely. Science understanding? Yes. History or social studies? Included. If your student took any electives or specialized courses, make sure those are represented too. Next, verify that you have the supporting documentation. Portfolios should include chronological samples of academic work along with records of extracurricular activities, educational logs, and any available evaluations. Check that you have your curriculum documentation from Step 2. Do you have your list of learning objectives? Your timeline showing when things were completed? Your curriculum resources listed? These pieces are crucial because they show that your student’s education was intentional and organized, not random. Make sure you have your student information page that includes their name, grade level, years of homeschooling, and any other identifying information. Include attendance records or documentation of school days if your state requires that. Include your reading logs if you kept them. Include field trip documentation. All of these pieces together paint a complete picture.
Below is a summary of key types of evidence to include in a homeschool portfolio and the value each provides:
| Evidence Type | Example Materials | Value for Portfolio |
|---|---|---|
| Academic Work | Essays, lab reports, tests | Shows subject mastery and progress |
| Extracurriculars | Club logs, volunteer letters | Demonstrates well-rounded experience |
| Assessments | Practice tests, evaluations | Provides measurable achievement |
| Creative Projects | Artwork, design photos | Highlights unique skills or interests |
Now look at the organization and presentation. Is everything clearly labeled and easy to find? Does your portfolio have a table of contents that helps someone navigate through it quickly? Are your sections clearly divided with subject tabs or headers? Can you find a specific work sample easily, or would someone have to hunt through everything? If you’re doing a physical binder, make sure the pages are clean and in good condition. Use divider tabs to separate sections. Include a cover page with your student’s name and year. If you’re doing a digital portfolio, make sure files are organized in clear folders with descriptive names. Create a digital table of contents with links to different sections. Make sure all documents are readable and properly formatted. Test the digital version on different devices to ensure everything displays correctly.
Review your work samples one more time. Are they actually the best examples of your student’s learning? Do they show growth and progression throughout the year? If you have an essay from September and one from May, does the May essay show improvement? If you have an early math test and a later one, does the later test demonstrate stronger mastery? Make sure the order tells a story of learning and development. Check that you have variety in your samples. Don’t just include essays and tests. Make sure you have projects, creative work, and different types of evidence of learning. Review any written descriptions you’ve included for your work samples. Are they clear and specific? Do they explain what skill or knowledge each piece demonstrates?
Take a final look at the overall presentation. Does your portfolio look professional? If you’re printing it, use quality paper and clear printing. If it’s digital, make sure the design is clean and readable. Colors should be professional, not distracting. Fonts should be easy to read. Images should be clear and well organized. Someone reviewing your portfolio shouldn’t be distracted by poor formatting or presentation. They should be able to focus on the actual evidence of your student’s learning. If you’re going to submit your portfolio to a specific organization or college, check if they have guidelines about format, length, or specific requirements. Follow those requirements exactly. If they want a specific file format for digital portfolios, use that format. If they want work samples organized in a particular way, organize them that way. Meeting specific requirements shows that your family pays attention to detail and can follow instructions.
Pro tip: Print out or open your entire portfolio and review it as if you were seeing it for the first time. Ask yourself if it clearly demonstrates your student’s learning and if anyone could easily understand their educational journey just by looking through it.
Transform Your Homeschool Portfolio into a Powerful Academic Story
Building a standout homeschool portfolio requires more than just collecting papers and projects. The challenge is organizing your student’s achievements with clear timelines, learning objectives, and compelling samples that truly showcase growth and dedication. If you feel overwhelmed by managing curriculum documentation, tracking extracurriculars, or presenting a polished portfolio, you are not alone. Many homeschool families struggle to connect all the pieces in a way that speaks confidently to colleges or evaluators.
You can overcome these challenges by mastering key skills like time management, productivity, and effective presentation. At Learning with Angie, we provide targeted resources designed to help high school students and parents elevate every part of the learning journey including study strategies that keep portfolios organized and balanced. Discover tools and tips for managing academic goals while maintaining a healthy lifestyle so your homeschool portfolio reflects a well-rounded and intentional education.
Ready to bring your student’s educational story to life with clarity and confidence Start exploring practical solutions now at Learning with Angie. Visit our landing page and empower yourself to create a homeschool portfolio that truly stands out and opens doors to future success.
Frequently Asked Questions
What materials do I need to gather for a homeschool portfolio?
To build an effective homeschool portfolio, gather your student’s written work, assessments, and documentation of extracurricular activities. Start collecting materials such as essays, math tests, certificates, and photos throughout the year, so they’re organized before portfolio season begins.
How do I organize the curriculum documentation for my homeschool portfolio?
Create a clear record of what you taught by listing curriculum materials and creating a timeline of when topics were covered. Document learning objectives and keep everything organized by subject or date, ensuring that anyone reviewing the portfolio can easily understand the educational journey.
What types of work samples should I include in my homeschool portfolio?
Select representative samples that demonstrate your student’s growth and abilities across subjects. Aim for variety by including essays, projects, tests, and creative work, highlighting the strengths that showcase the learning achieved over the school year.
How can I effectively integrate extracurricular activities into the portfolio?
List all extracurricular activities, along with dates, achievements, and supporting documents like certificates or photos. This helps illustrate that your student is well-rounded and actively engaged outside of traditional academics.
What should I check before finalizing my homeschool portfolio?
Go through a checklist to ensure all required components are included, such as work samples, documentation, and a clear presentation. Review the organization to make sure it’s easy to navigate and meets any specific guidelines relevant to submissions or evaluations.
How can I present my homeschool portfolio professionally?
Ensure that your portfolio is cleanly formatted, with clear labeling and a table of contents for easy navigation. If printed, use quality materials; if digital, keep files organized and accessible to enhance the overall presentation.